Ollama Cookbook
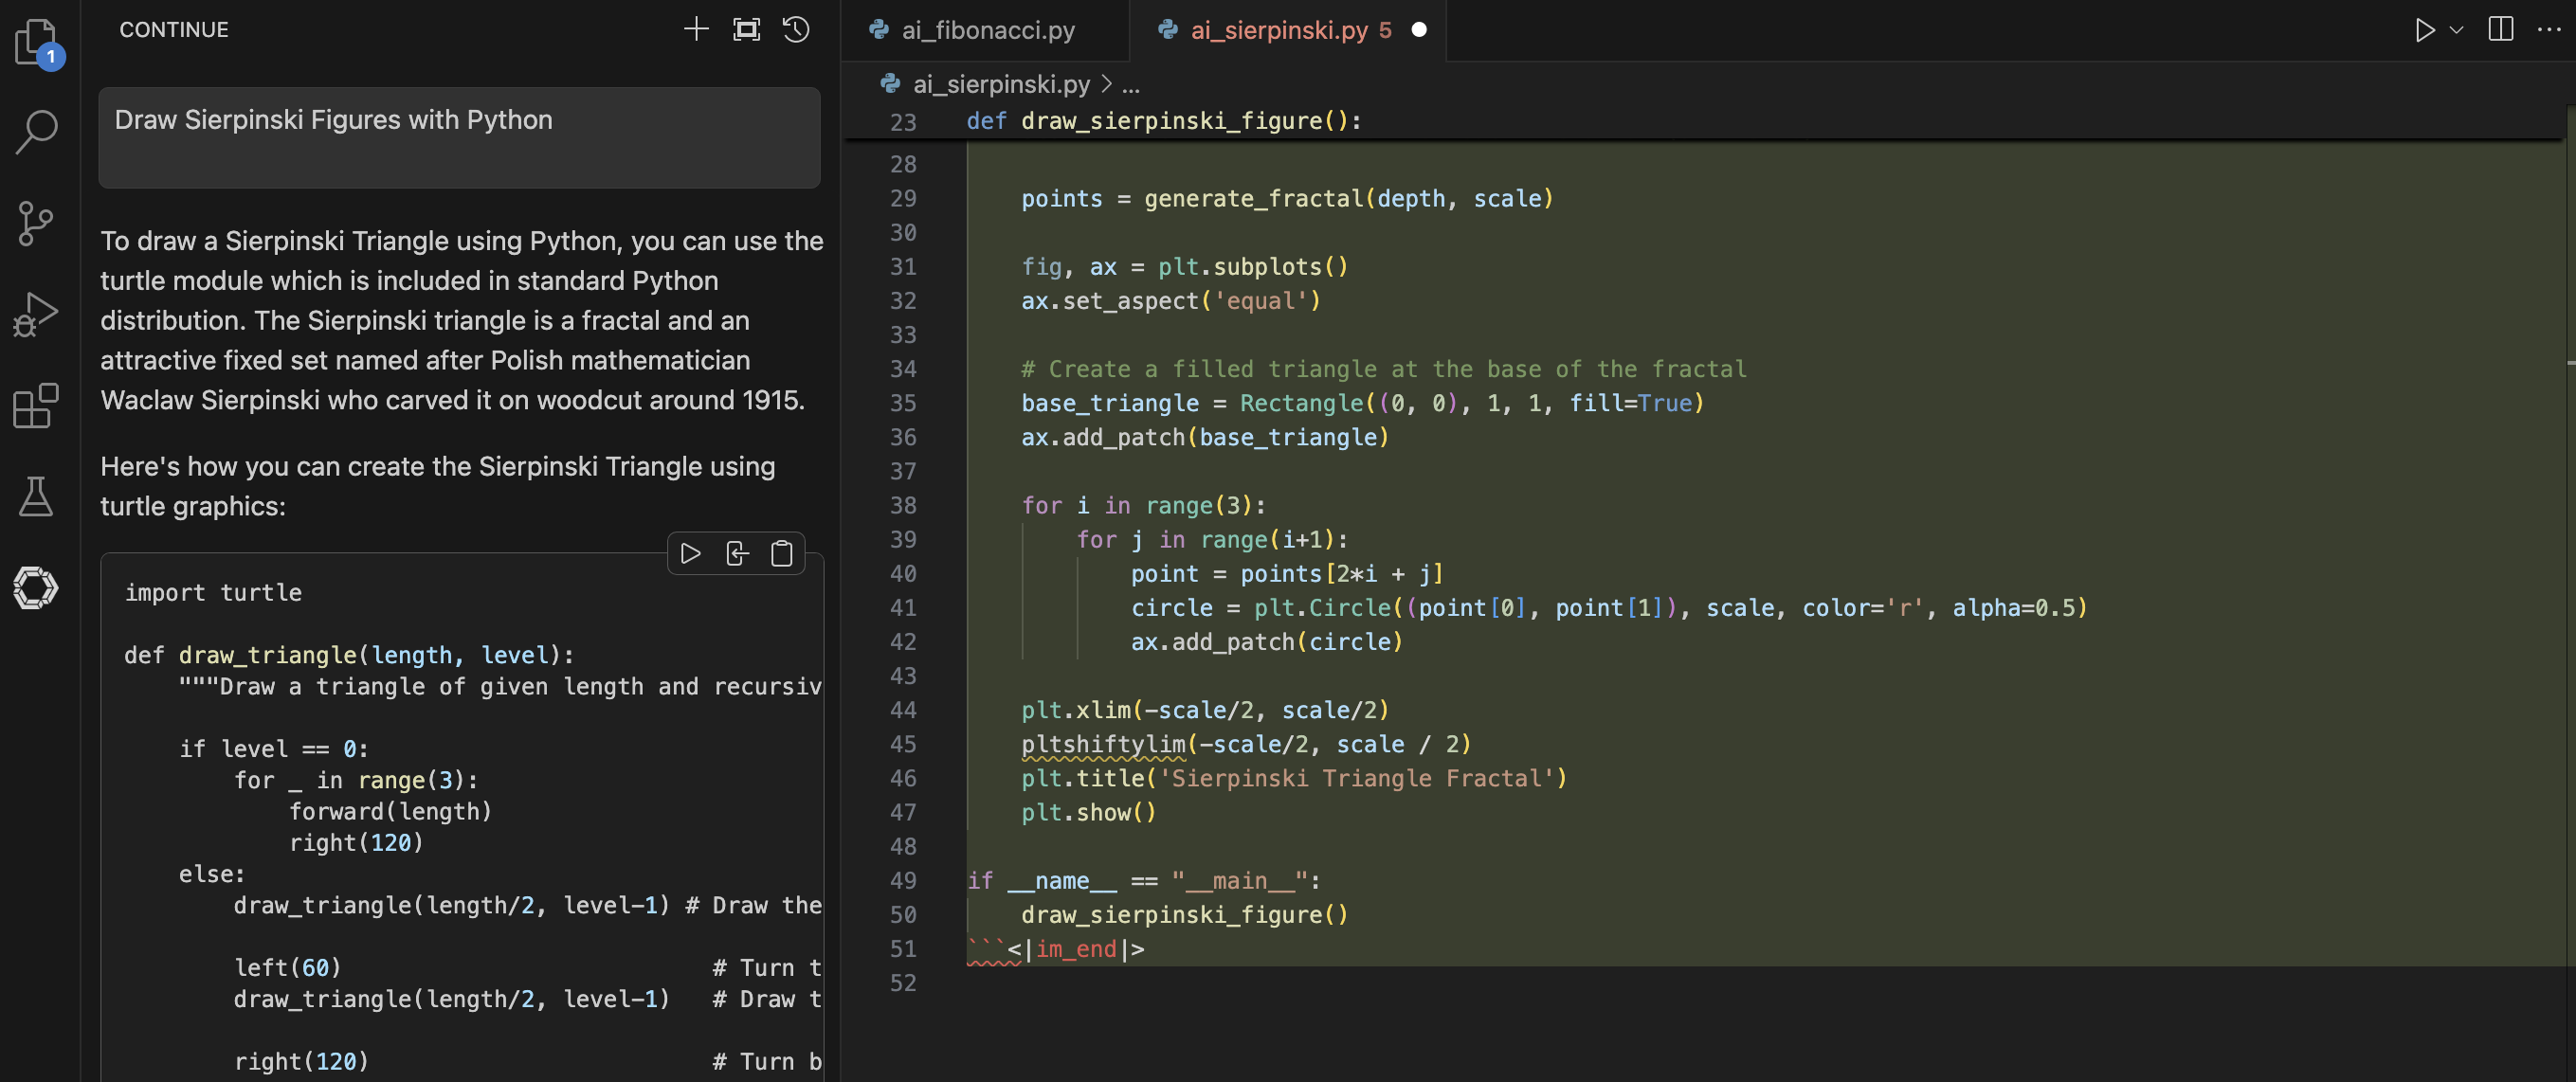
Setting up VS Code Environment
Debugging
Create a file launch.json and add this to configuration
"configurations": [
        {
            "name": "Streamlit",
            "type": "debugpy",
            "request": "launch",
            "module": "streamlit",
            "args": [
                "run",
                "${file}",
                "--server.port",
                "2000"
            ]
        }
    ]
Ollama und Python
Beispiele
Getting Started
Python
pip install ollama
import ollama
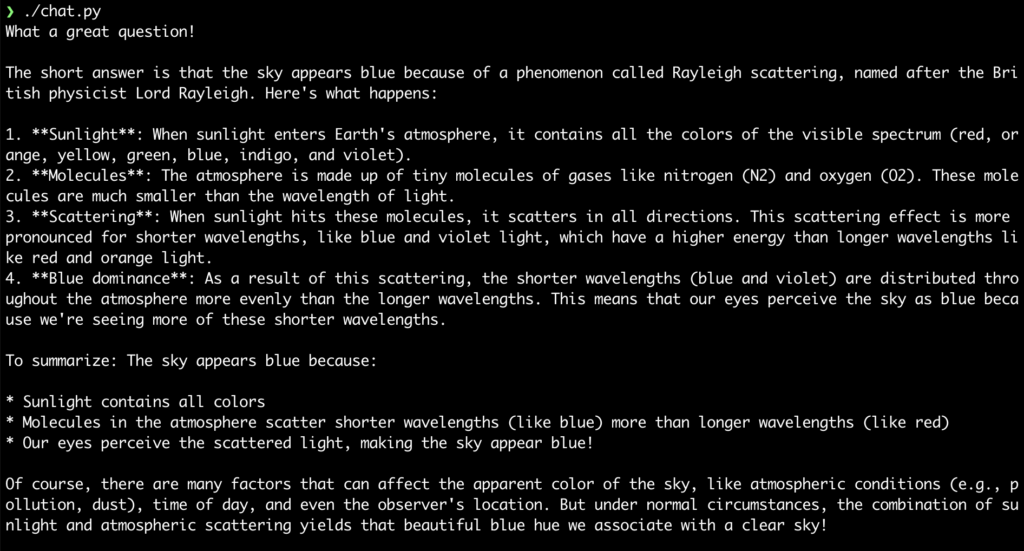
response = ollama.chat(model='llama2', messages=[
{
'role': 'user',
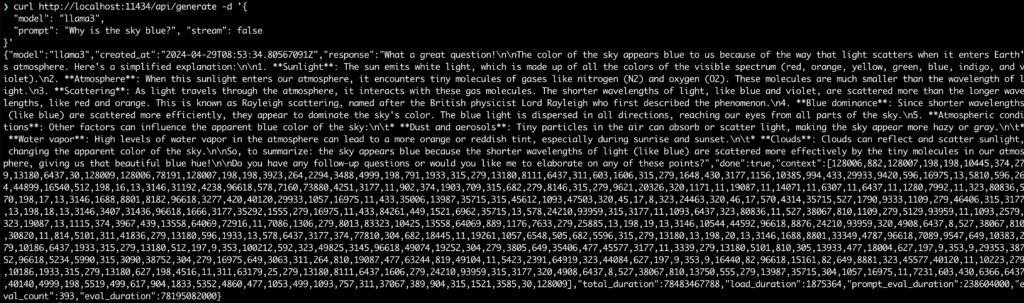
'content': 'Why is the sky blue?',
},
])
print(response['message']['content'])JavaScript
npm install ollama
import ollama from 'ollama'

const response = await ollama.chat({
  model: 'llama2',
  messages: [{ role: 'user', content: 'Why is the sky blue?' }],
})
console.log(response.message.content)
Use cases
Both libraries support Ollama’s full set of features. Here are some examples in Python:
Streaming
for chunk in chat('mistral', messages=messages, stream=True):
    print(chunk['message']['content'], end='', flush=True)
Multi-modal
with open('image.png', 'rb') as file:
  response = ollama.chat(
    model='llava',
    messages=[
      {
        'role': 'user',
        'content': 'What is strange about this image?',
        'images': [file.read()],
      },
    ],
  )

print(response['message']['content'])
Text Completion
result = ollama.generate(
  model='stable-code',
  prompt='// A c function to reverse a string\n',
)

print(result['response'])
Creating custom models
modelfile='''
FROM llama2
SYSTEM You are mario from super mario bros.
'''

ollama.create(model='example', modelfile=modelfile)
Custom client
ollama = Client(host='my.ollama.host')
More examples are available in the GitHub repositories for the Python and JavaScript libraries.
Tipps und Tricks
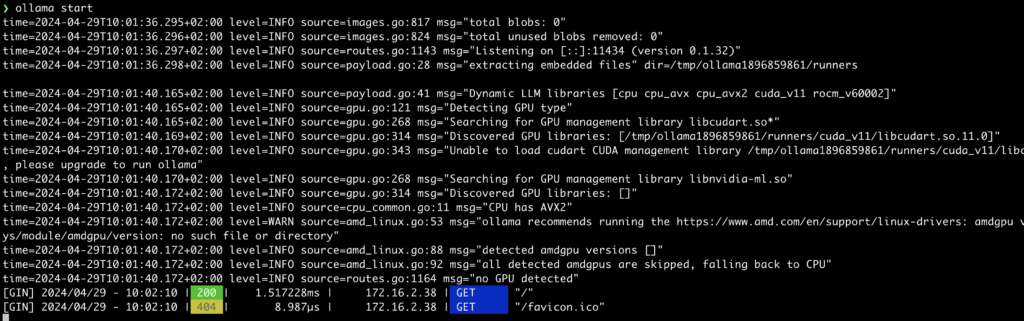
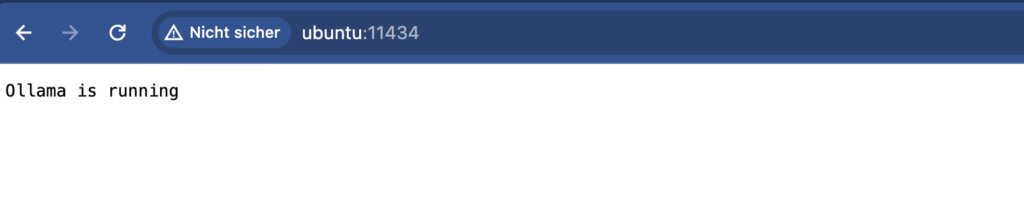
ollama serve
OLLAMA_ORIGINS=https://webml-demo.vercel.app
OLLAMA_HOST=127.0.0.1:11435 ollama serve
Docker
Run Ollama in Docker container
CPU only
docker run -d -v ollama:/root/.ollama -p 11434:11434 --name ollama ollama/ollama
Nvidia GPU
Install the Nvidia container toolkit.
Run Ollama inside a Docker container
docker run -d --gpus=all -v ollama:/root/.ollama -p 11434:11434 --name ollama ollama/ollama
Run a model
Now you can run a model like Llama 2 inside the container.
docker exec -it ollama ollama run llama2
OpenAI
OpenAI Compatibility
from openai import OpenAI

client = OpenAI(
    base_url = 'http://localhost:11434/v1',
    api_key='ollama', # required, but unused
)

response = client.chat.completions.create(
  model="llama2",
  messages=[
    {"role": "system", "content": "You are a helpful assistant."},
    {"role": "user", "content": "Who won the world series in 2020?"},
    {"role": "assistant", "content": "The LA Dodgers won in 2020."},
    {"role": "user", "content": "Where was it played?"}
  ]
)

print(response.choices[0].message.content)
Using Streamlit
LangChain
from langchain_community.llms import Ollama
llm = Ollama(model="gemma2")
llm.invoke("Why is the sky blue?")
LlamaIndex
from llama_index.llms.ollama import Ollama

llm = Ollama(model="gemma2")
llm.complete("Why is the sky blue?")
LLMs and Models by Example
wizard-math
ollama run wizard-math 'Expand the following expression: $7(3y+2)$'

Libraries for using Ollama
Using Ollama
from ollama import Client
Using LangChain
from langchain_community.llms import Ollama
Basic Operations
Import
from ollama import Client
Create Client
client = Client(host=ollama_url)
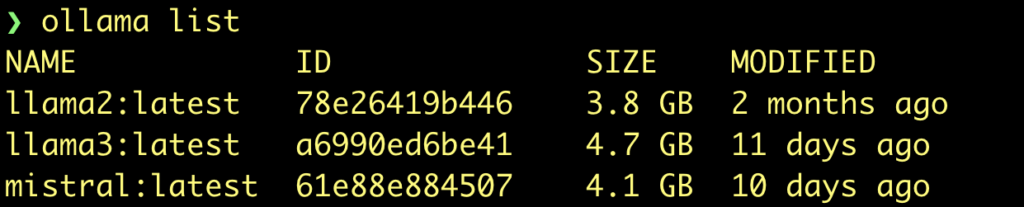
Get list of models
model_list = []

models = client.list()
for model in models['models']:
    model_list.append(model['name'])