

Ollama | Create a ChatGPT Clone with Ollama and HyperDiv
In this blog post, we’ll explore how to create a ChatGPT-like application using Hyperdiv and Ollama. Hyperdiv provides a flexible framework for building web applications, while Ollama offers powerful local machine learning capabilities.
We will start with the Hyperdiv GPT-chatbot app template and adapt it to leverage Ollama, which runs locally. This guide will walk you through the necessary steps and code changes to integrate these technologies effectively.
Inhaltsverzeichnis
TL;DR
The complete code for this tutorial is here.
Step 1: Setting Up Your Environment
Install Ollama
Download Ollama from https://ollama.com/download.
Install (Windows) or unpack (macOS) the downloaded file. This gets you an Ollama app (which allows you to start the Ollama service) and a Ollama command line.
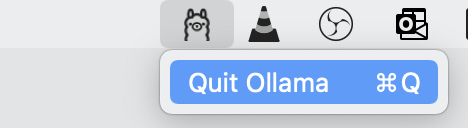
Start the Ollama service by starting the Ollama app.

On macOS, you will see an icon for the Ollama Servce at the top bar.
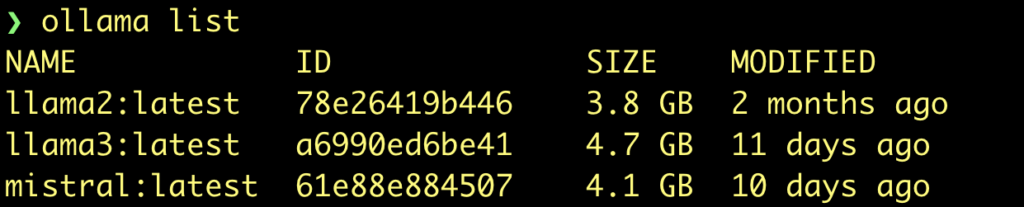
Then, open a terminal and type ollama list. This command displays the install models.
ollama list
To install a model, type
ollama pull llama3
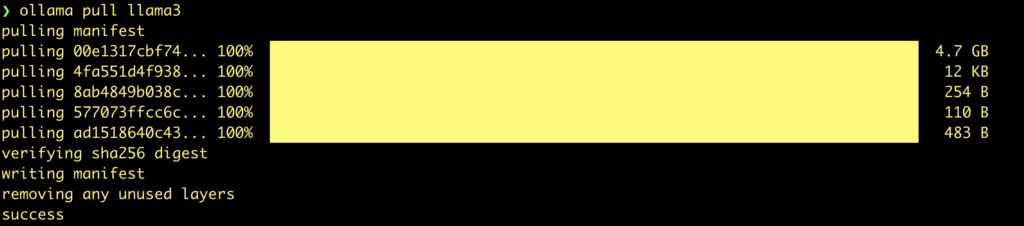
For our ChatGPT Clone, we will use the llama3 model.
If you want to use another model, then search here: https://ollama.com/library
Clone the HyperDiv Examples Repository
Start by cloning or downloading the Hyperdiv GPT-chatbot app. This app provides a basic structure for a chatbot application, which we will modify to work with Ollama.
Go to your desired local folder to store the sources and type
git clone https://github.com/hyperdiv/hyperdiv-apps
Then, go to the folder hyperdiv-apps/gpt-chatbot
Adapt app to use Ollama backend
First, we will create an ollama client to process all request:
from openai import OpenAI

client = OpenAI(
    base_url="http://localhost:11434/v1",
    api_key="ollama",
)
Then we modify the request function to use this client
We change
response = openai.ChatCompletion.create(
to
response = client.chat.completions.create(

Next step is changing the accees to the response fields. With OpenAI, the response data is a dictionary, so the way to acess the fields is like
chunk["choices"]
With Ollama, we can access the field by name
chunk.choices
The changes are
 for chunk in response:
    message = chunk.choices[0].delta
    state.current_reply += message.content
And the last step would be the change to use the correct model:
model = form.select(
    options=("codellama", "llama2", "llama3", "mistral"),
        value="llama3",
        name="gpt-model",
)
Thats is! Save all changes
Prepare Python environment and run app
Install the required modules:
pip install openai hyperdiv
Run the app:
python start.py

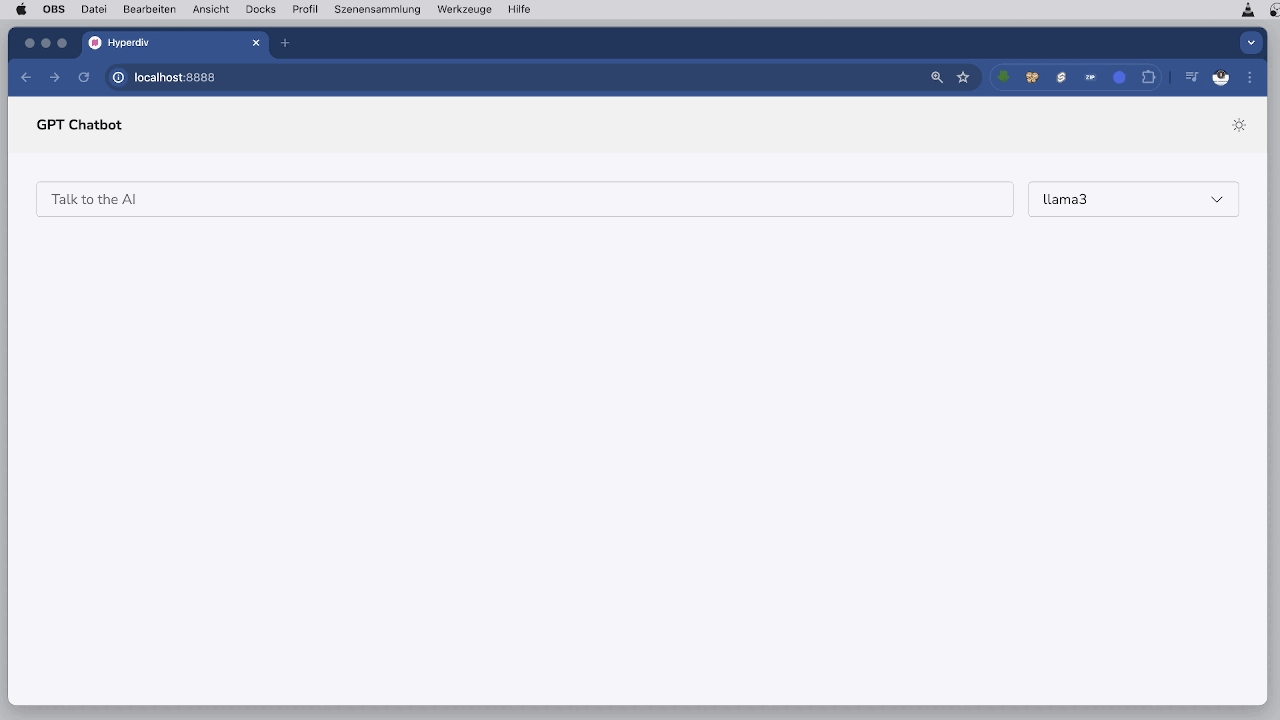
Open the browser at http://localhost:8888

Final Result
The complete code for this tutorial is here.
Leave a Reply