In this blog, we will discus the steps to add additional content (pages, components) to your existing app. We will start with the App From Scratch we create here.
Preparation
Configure Visual Studio Code
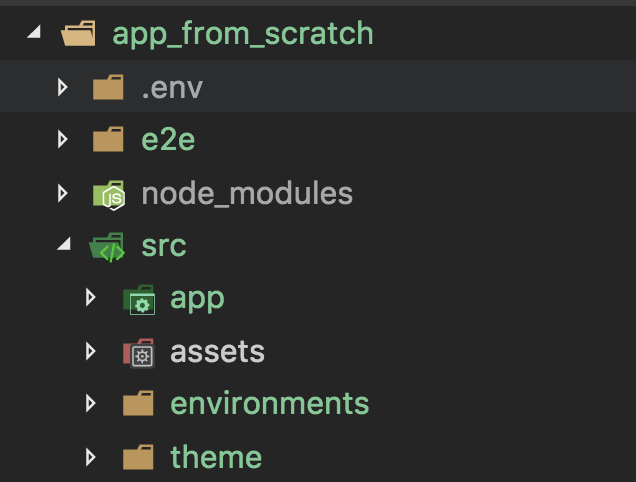
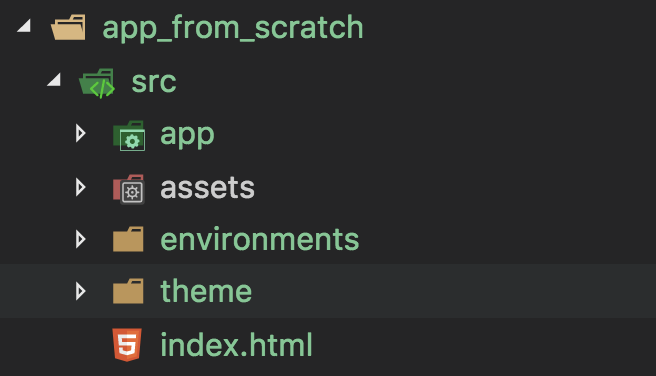
First, we will configure Visual Studio Code to show only the desired folders for this tutorial.
We will hide the folders node_modules, e2e and .env
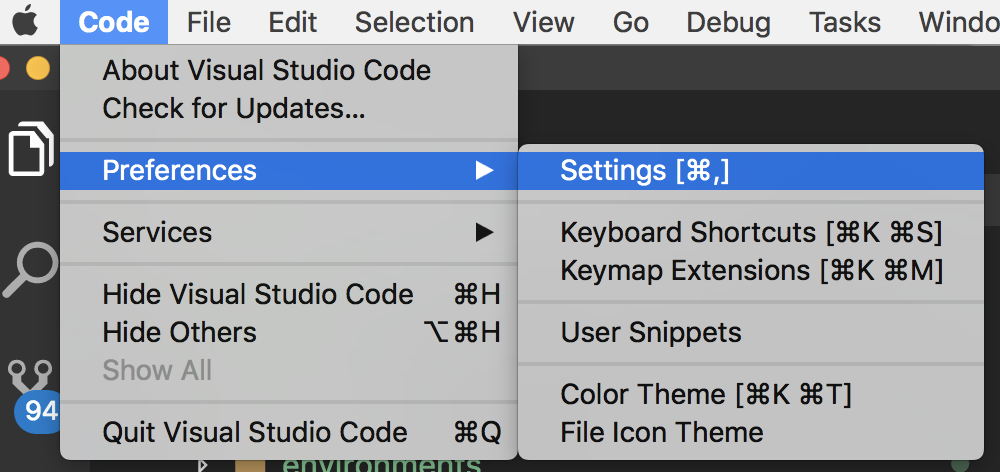
To do this, select Code / Prefecences / Settings
Visual Studio Code will open the settings in a editor window. You will see the default user settings on the left, and the current user settings on the right.
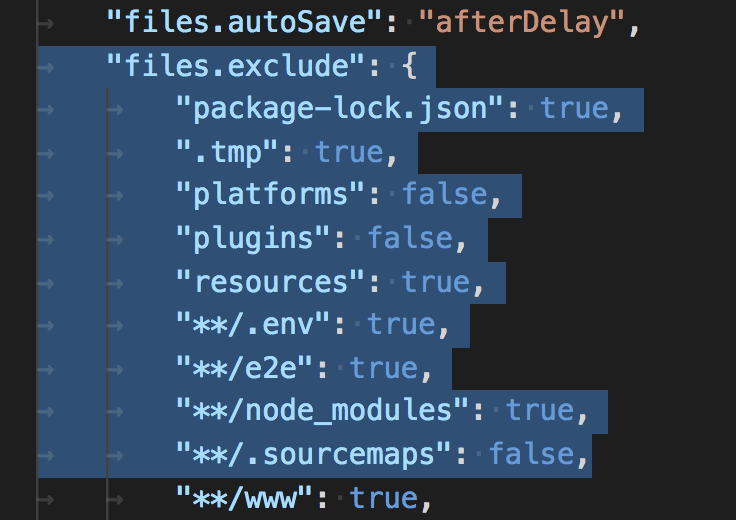
Look for the lines unter “files.exclude” and add or edit the desired content.
Setting to true means exclude (remember the title of the group: files.exclude)
Open required windows
As we add some content, we want to see immediately the results.
So, i opened three windows
Visual Studio Code
Browser Windows
Console, where we start the ionic server
Change directory structure
Now we can start: Lets add some pages we will use to contain Ionic Components (Buttons, Text, Switches, Lists, Grids, …)
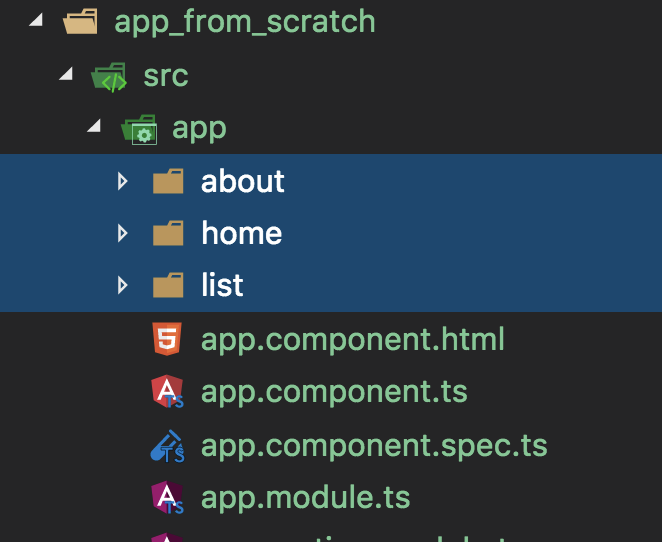
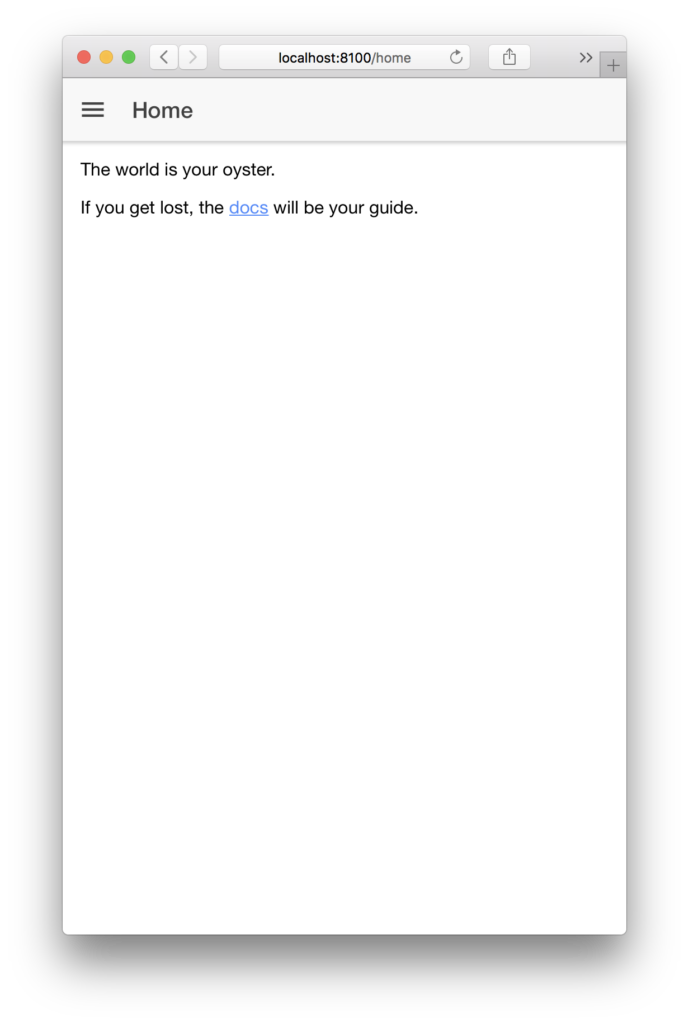
Out app have 3 pages. You will find them in them explorer window
First, i want to change the directory structure.
For each component type, we will add, i want to a a separate folder.
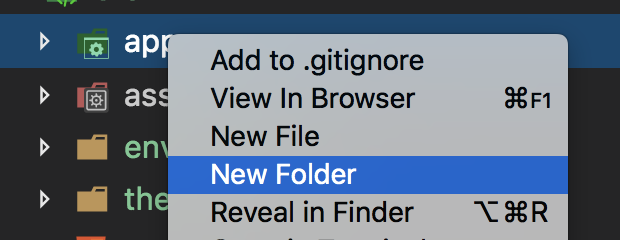
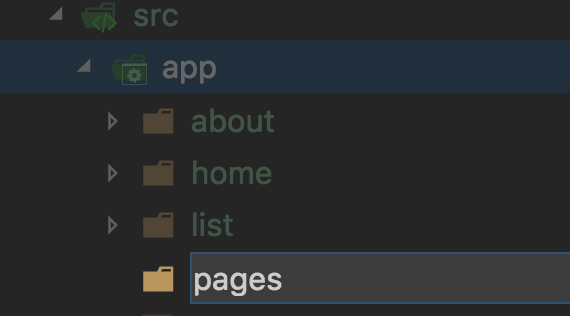
So, first: create a folder pages for our pages
Next, move the pages folders home, list and about into the newly create folder
After that, go into the console, stop the running ionic serve command and restart it to force a new compilation of our app
$ ionic serve
> ng run app:serve --host=0.0.0.0 --port=8100
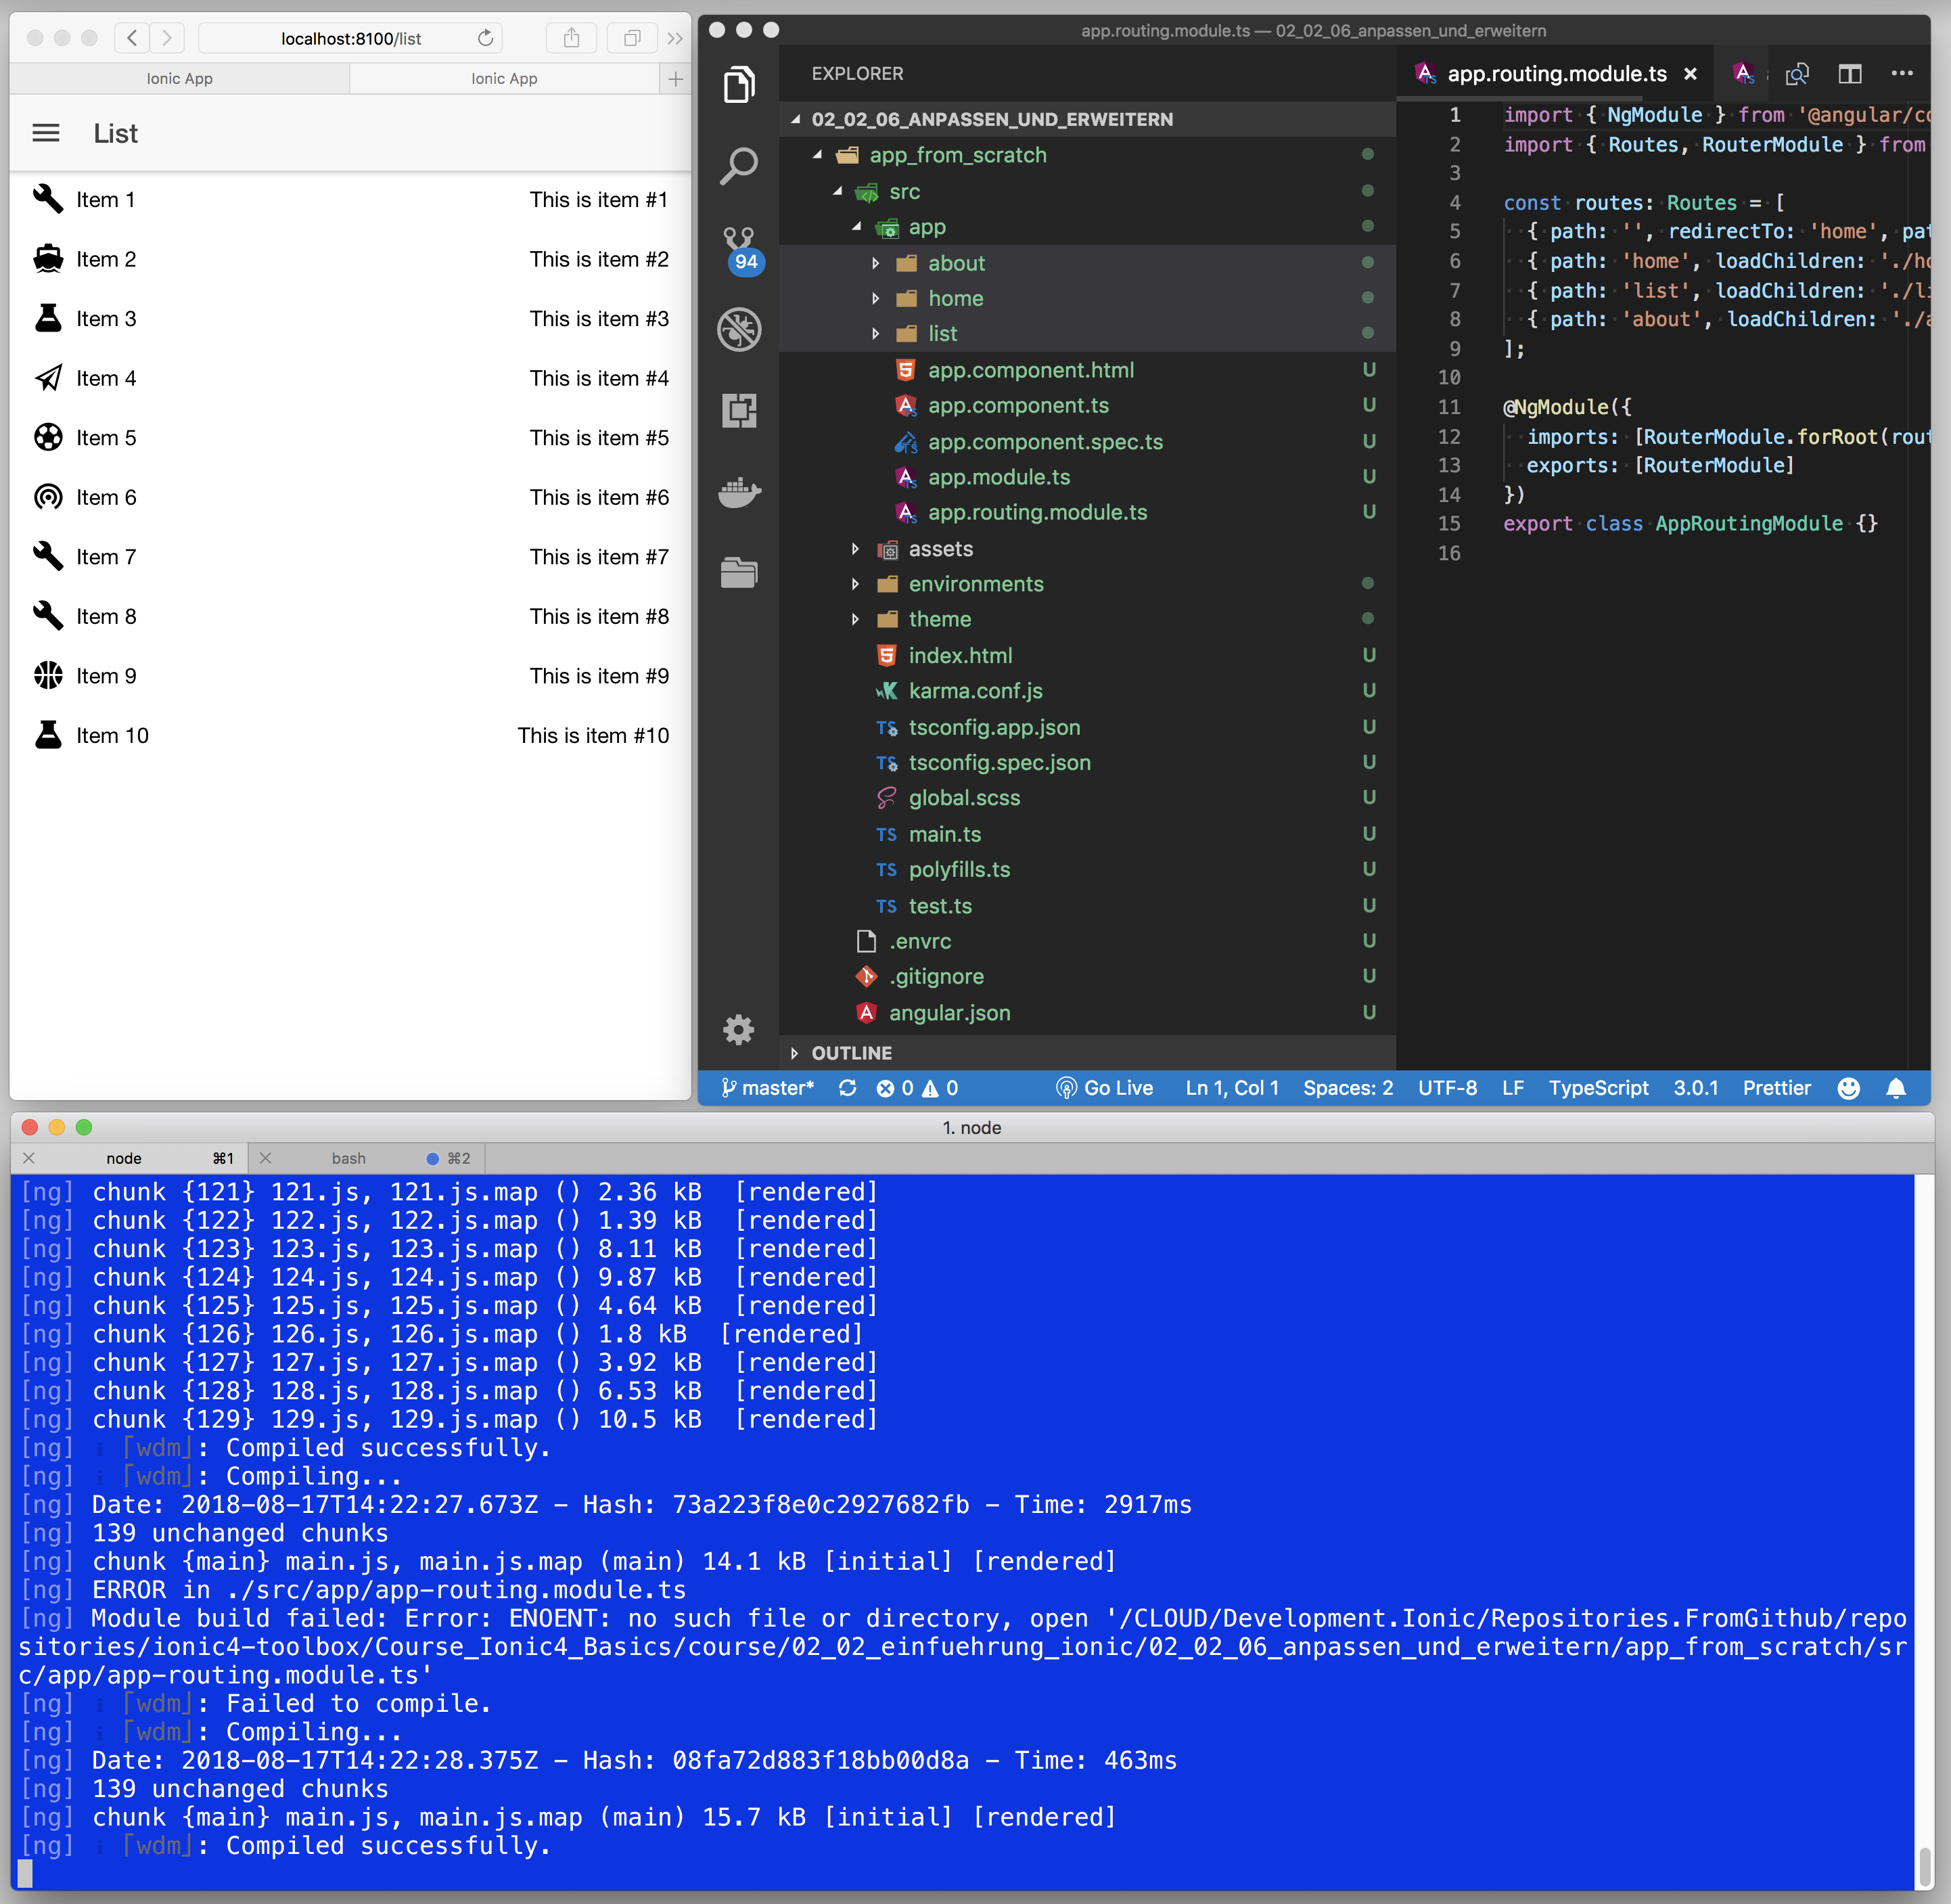
In the console window, we will see an error
[ng] ERROR in Could not resolve module ./home/home.module relative to .../app_from_scratch/src/app/app-routing.module.ts
This is, because we changes the directory path of the pages. We had to adjust the new path in out app: in app-routing.module.ts
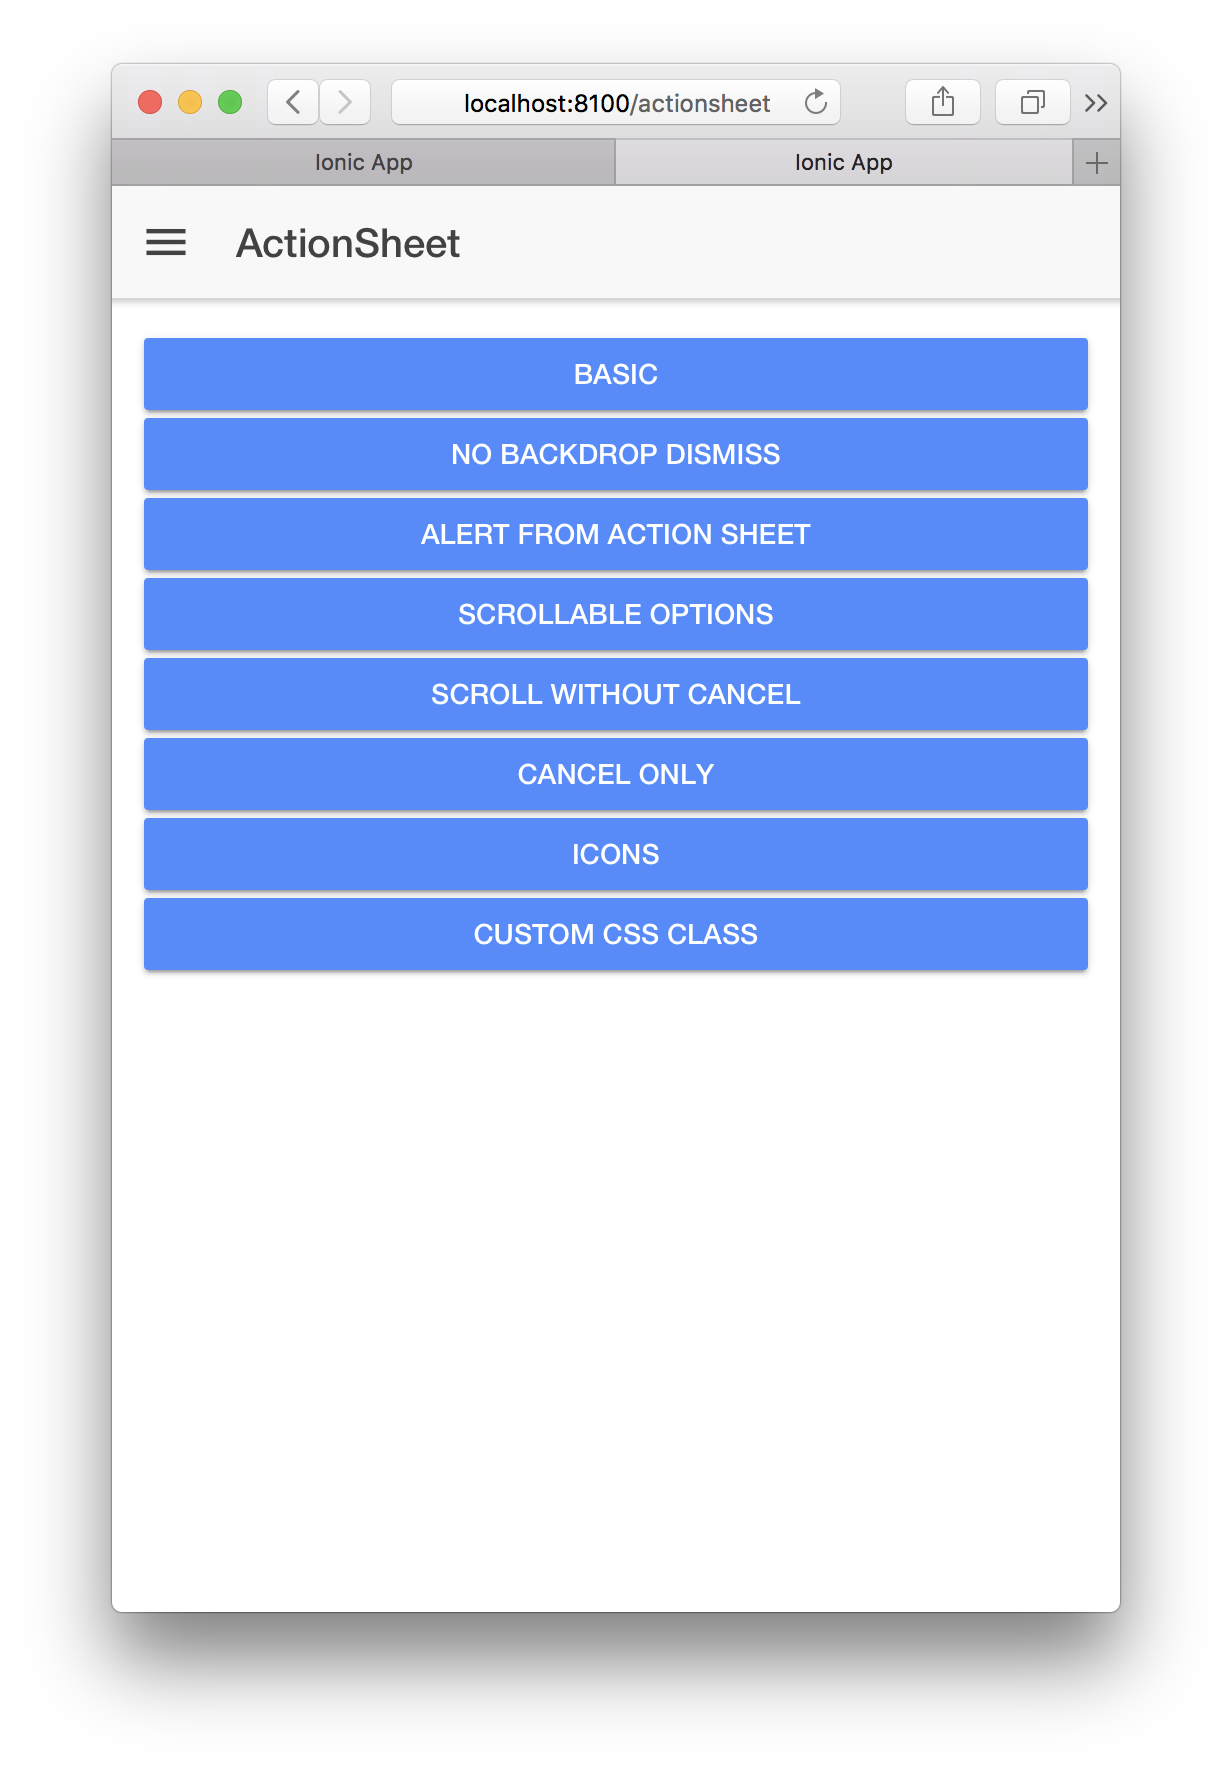
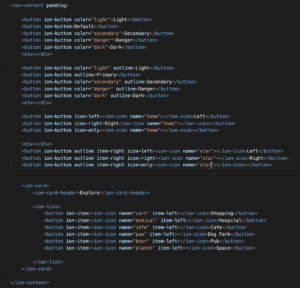
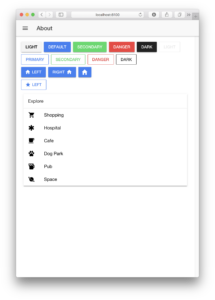
Ionic offers a huge amount of amazing components. So, we will demonstrate the use of this components step by step. We will take the inspiration from here.
Notice the different spelling of the url (different case of letters). Whatever spelling you choose, it has to fit to the path value in the app-routing.module.ts
Next, move the page to the pages folder and change the path in app-routing.modules.ts
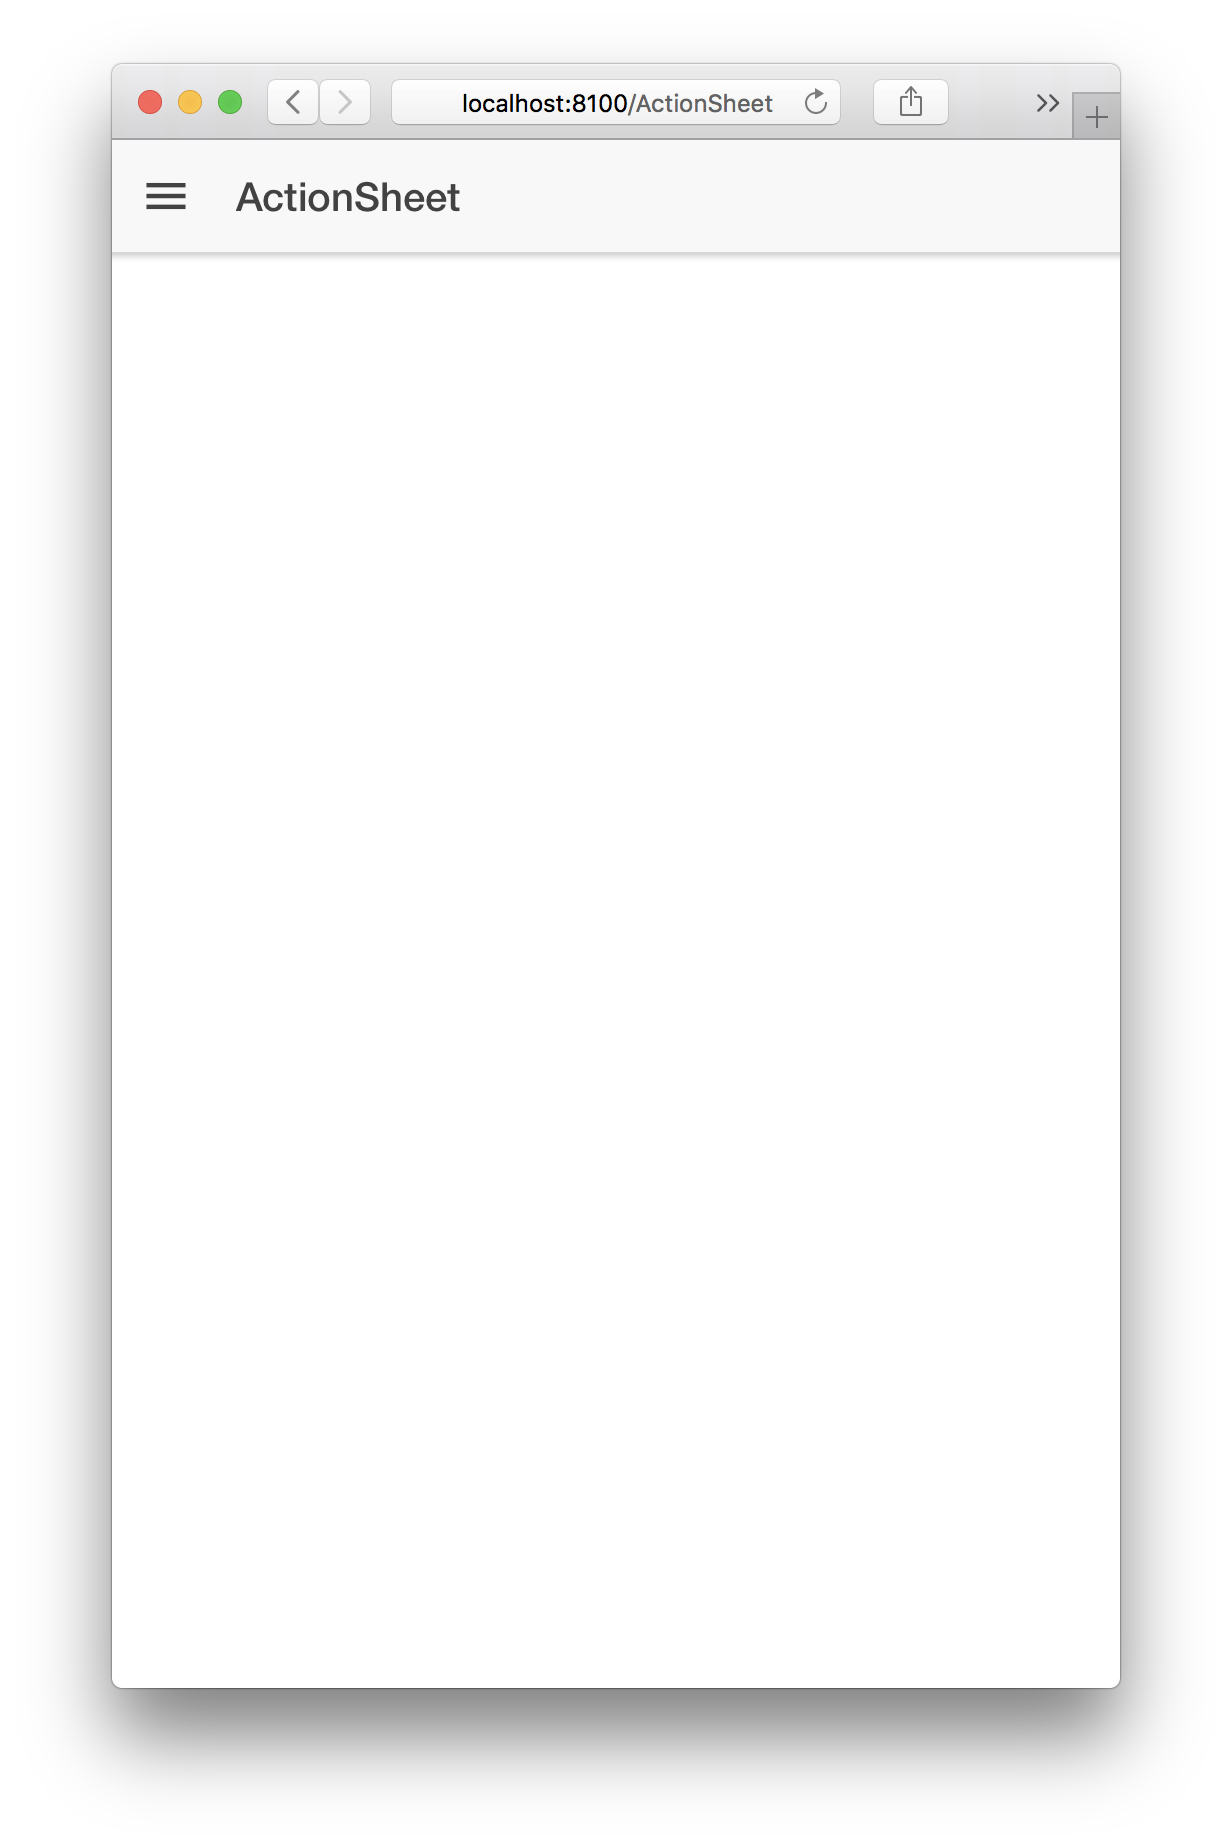
Add the sidemenu button to the actionSheet Page (in action-sheet.page.html)
Null safety features are disabled for this library.
lib/main.dart:8:19: Error: Null safety features are disabled for this library.
Try removing the package language version or setting the language version to 2.12 or higher.
  const MyApp({Key? key}) : super(key: key);
$ flutter emulators
5 available emulators:

Android_Accelerated_Oreo
Nexus_5X_API_28_x86      • Nexus 5X      • Google • Nexus 5X API 28 x86
Pixel_3_API_28           • pixel_3       • Google • Pixel 3 API 28
Pixel_XL_API_28          • pixel_xl      • Google • Pixel XL API 28
apple_ios_simulator      • iOS Simulator • Apple

To run an emulator, run 'flutter emulators --launch <emulator id>'.
To create a new emulator, run 'flutter emulators --create [--name xyz]'.
$ flutter emulators --launch apple_ios_simulator
Read More
Official website: https://flutter.io/ will supply from step by step to install and start with the simple example.
App builder: It is an amazing tool to build the Flutter UI online that mean you only need choose your UI widget and drag to screen -> You can get the source code for your app.
The Flutter Pub is a medium publication to bring you the latest and amazing resources such as articles, videos, codes, podcasts, etc. about this great
What’s next
Learn Dart Go to Dart guides and see a preview of the four most visited websites. Initially, these two are worth focusing on: Language tour and Language samples. A complete and detailed Dart course supported by examples can also be found here.
Install Flutter SDK – Prepare IDE The entire process is described step by step depending on the system on which we want to install Flutter.
Study Material Design Concept If we want to create user-friendly interfaces, it is important to read material design rules.
Widgets Widgets are an indispensable part of Flutter. You can browse them alphabetically.
State Management and Project Architecture Read the bloc documentation. However, if you decide to take a different approach, you can preview other possible solutions.
API Calls and Database Integration The Pub provides great packages such as: http or dio to perform HTTP requests. Hive is a lightweight and blazing fast key-value database written in pure Dart. You should also consider integrating with Firebase.
❯ ng new app-capacitor
? Would you like to add Angular routing? Yes
? Which stylesheet format would you like to use? SCSS   [ https://sass-lang.com/documentation/syntax#scss]

❯ cd app-capacitor
❯ ng add @capacitor/angular
ℹ Using package manager: npm
✖ Unable to find compatible package.  Using 'latest'.
✖ Package has unmet peer dependencies. Adding the package may not succeed.

The package @capacitor/angular will be installed and executed.
Would you like to proceed? Yes
Capacitor initialisieren
❯ npx cap init
[?] What is the name of your app?
    This should be a human-friendly app name, like what you'd see in the App Store.
√ Name ... app-capacitor
[?] What should be the Package ID for your app?
    Package IDs (aka Bundle ID in iOS and Application ID in Android) are unique identifiers for apps. They must be in
    reverse domain name notation, generally representing a domain name that you or your company owns.
√ Package ID ... com.example.app
√ Creating capacitor.config.ts in D:\CLOUD\Online-Seminare\Kurse\Angular\Einsteiger\App_Capacitor in 5.31ms
[success] capacitor.config.ts created!

Next steps:
https://capacitorjs.com/docs/v3/getting-started#where-to-go-next
[?] Join the Ionic Community! 💙
    Connect with millions of developers on the Ionic Forum and get access to live events, news updates, and more.
√ Create free Ionic account? ... no
[?] Would you like to help improve Capacitor by sharing anonymous usage data? 💖
    Read more about what is being collected and why here: https://capacitorjs.com/telemetry. You can change your mind at
    any time by using the npx cap telemetry command.
√ Share anonymous usage data? ... no
Build your app
We will need the dist directory with the web files
❯ ng build --prod
Option "--prod" is deprecated: No need to use this option as this builder defaults to configuration "production".
✔ Browser application bundle generation complete.
✔ Copying assets complete.
✔ Index html generation complete.

Initial Chunk Files               | Names         |      Size
main.b633c9096acdb457c421.js      | main          | 212.34 kB
polyfills.e4574352eda6eb439793.js | polyfills     |  35.95 kB
runtime.d66bb6fe709ae891f100.js   | runtime       |   1.01 kB
styles.31d6cfe0d16ae931b73c.css   | styles        |   0 bytes

                                  | Initial Total | 249.29 kB

Build at: 2021-05-28T09:32:28.905Z - Hash: ed2ed2d661b0d58b48f2 - Time: 28225ms
❯ npm install @capacitor/ios @capacitor/android
npm WARN @capacitor/angular@1.0.3 requires a peer of rxjs@~6.4.0 but none is installed. You must install peer dependencies yourself.
npm WARN @capacitor/angular@1.0.3 requires a peer of typescript@~3.4.3 but none is installed. You must install peer dependencies yourself.
npm WARN ajv-keywords@3.5.2 requires a peer of ajv@^6.9.1 but none is installed. You must install peer dependencies yourself.
npm WARN optional SKIPPING OPTIONAL DEPENDENCY: fsevents@2.3.2 (node_modules\fsevents):
npm WARN notsup SKIPPING OPTIONAL DEPENDENCY: Unsupported platform for fsevents@2.3.2: wanted {"os":"darwin","arch":"any"} (current: {"os":"win32","arch":"x64"})
npm WARN optional SKIPPING OPTIONAL DEPENDENCY: fsevents@1.2.13 (node_modules\webpack-dev-server\node_modules\fsevents):
npm WARN notsup SKIPPING OPTIONAL DEPENDENCY: Unsupported platform for fsevents@1.2.13: wanted {"os":"darwin","arch":"any"} (current: {"os":"win32","arch":"x64"})

+ @capacitor/ios@3.0.0
+ @capacitor/android@3.0.0
added 2 packages from 1 contributor, removed 1 package and audited 1375 packages in 7.385s

88 packages are looking for funding
  run `npm fund` for details

found 35 moderate severity vulnerabilities
  run `npm audit fix` to fix them, or `npm audit` for details
Add Platform Android
❯ npx cap add android
√ Adding native android project in android in 167.07ms
√ Syncing Gradle in 1.45ms
√ add in 169.83ms
[success] android platform added!
Follow the Developer Workflow guide to get building:
https://capacitorjs.com/docs/v3/basics/workflow
√ Copying web assets from dist to android\app\src\main\assets\public in 55.26ms
√ Creating capacitor.config.json in android\app\src\main\assets in 3.50ms
√ copy android in 164.93ms
√ Updating Android plugins in 7.76ms
√ update android in 75.79ms
Open Android Studio to build App
❯ npx cap open android
[info] Opening Android project at: android.
Or just copy some code from the documentation page and try by yourself:
We describe the steps to add additional components in detail in this blog.
Directory structure of an application
One possible way to build an app is:
create a base app from blank template
add desired pages, code and components
To find out the necessary steps to add an new page or component, look into the templates and compare a template with the blank template. the differences are the required steps to an a component.
For example, if you want to add tabs to your app, then compare the blank template with the tabs template:
Some differences come from the different names (starter_blank vs. starter_tabs, HomePage vs. TabsPage). The significant changes are those, which are new in the starter_tabs directory.
vi platforms/ios/cordova/node_modules/ios-sim/src/lib.js
Change to
list.push(util.format('


How to fix Error: spawn EACCES


$ ionic hooks add
We use cookies on our website to give you the most relevant experience by remembering your preferences and repeat visits. By clicking “Accept All”, you consent to the use of ALL the cookies. However, you may visit "Cookie Settings" to provide a controlled consent.
This website uses cookies to improve your experience while you navigate through the website. Out of these, the cookies that are categorized as necessary are stored on your browser as they are essential for the working of basic functionalities of the website. We also use third-party cookies that help us analyze and understand how you use this website. These cookies will be stored in your browser only with your consent. You also have the option to opt-out of these cookies. But opting out of some of these cookies may affect your browsing experience.
Necessary cookies are absolutely essential for the website to function properly. These cookies ensure basic functionalities and security features of the website, anonymously.
Cookie
Duration
Description
cookielawinfo-checkbox-analytics
11 months
This cookie is set by GDPR Cookie Consent plugin. The cookie is used to store the user consent for the cookies in the category "Analytics".
cookielawinfo-checkbox-functional
11 months
The cookie is set by GDPR cookie consent to record the user consent for the cookies in the category "Functional".
cookielawinfo-checkbox-necessary
11 months
This cookie is set by GDPR Cookie Consent plugin. The cookies is used to store the user consent for the cookies in the category "Necessary".
cookielawinfo-checkbox-others
11 months
This cookie is set by GDPR Cookie Consent plugin. The cookie is used to store the user consent for the cookies in the category "Other.
cookielawinfo-checkbox-performance
11 months
This cookie is set by GDPR Cookie Consent plugin. The cookie is used to store the user consent for the cookies in the category "Performance".
viewed_cookie_policy
11 months
The cookie is set by the GDPR Cookie Consent plugin and is used to store whether or not user has consented to the use of cookies. It does not store any personal data.
Functional cookies help to perform certain functionalities like sharing the content of the website on social media platforms, collect feedbacks, and other third-party features.
Performance cookies are used to understand and analyze the key performance indexes of the website which helps in delivering a better user experience for the visitors.
Analytical cookies are used to understand how visitors interact with the website. These cookies help provide information on metrics the number of visitors, bounce rate, traffic source, etc.
Advertisement cookies are used to provide visitors with relevant ads and marketing campaigns. These cookies track visitors across websites and collect information to provide customized ads.