
Ollama | Create a ChatGPT Clone with Ollama and HyperDiv
In this blog post, we’ll explore how to create a ChatGPT-like application using Hyperdiv and Ollama. Hyperdiv provides a flexible framework for building web applications, while Ollama offers powerful local machine learning capabilities.
We will start with the Hyperdiv GPT-chatbot app template and adapt it to leverage Ollama, which runs locally. This guide will walk you through the necessary steps and code changes to integrate these technologies effectively.
TL;DR
The complete code for this tutorial is here.
Step 1: Setting Up Your Environment
Install Ollama
Download Ollama from https://ollama.com/download.
Install (Windows) or unpack (macOS) the downloaded file. This gets you an Ollama app (which allows you to start the Ollama service) and a Ollama command line.
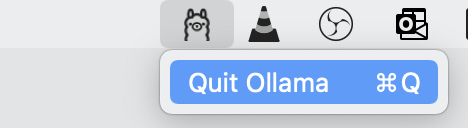
Start the Ollama service by starting the Ollama app.

On macOS, you will see an icon for the Ollama Servce at the top bar.
Then, open a terminal and type ollama list. This command displays the install models.
ollama list
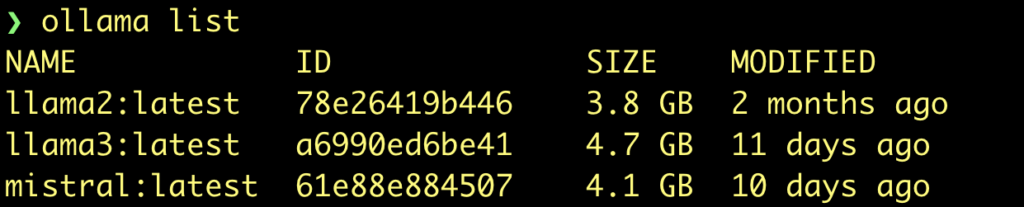
To install a model, type
ollama pull llama3
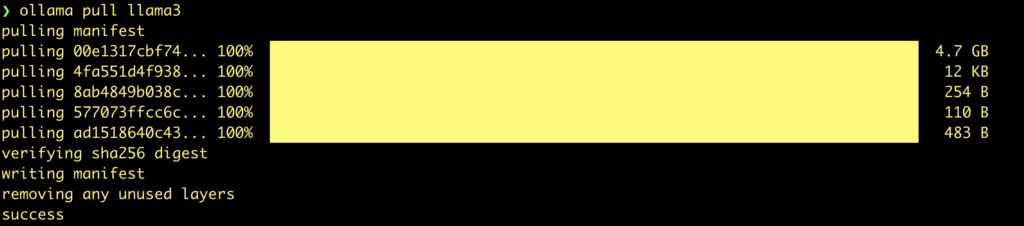
For our ChatGPT Clone, we will use the llama3 model.
If you want to use another model, then search here: https://ollama.com/library
Clone the HyperDiv Examples Repository
Start by cloning or downloading the Hyperdiv GPT-chatbot app. This app provides a basic structure for a chatbot application, which we will modify to work with Ollama.
Go to your desired local folder to store the sources and type
git clone https://github.com/hyperdiv/hyperdiv-apps
Then, go to the folder hyperdiv-apps/gpt-chatbot
Adapt app to use Ollama backend
First, we will create an ollama client to process all request:
from openai import OpenAI

client = OpenAI(
    base_url="http://localhost:11434/v1",
    api_key="ollama",
)
Then we modify the request function to use this client
We change
response = openai.ChatCompletion.create(
to
response = client.chat.completions.create(

Next step is changing the accees to the response fields. With OpenAI, the response data is a dictionary, so the way to acess the fields is like
chunk["choices"]
With Ollama, we can access the field by name
chunk.choices
The changes are
 for chunk in response:
    message = chunk.choices[0].delta
    state.current_reply += message.content
And the last step would be the change to use the correct model:
model = form.select(
    options=("codellama", "llama2", "llama3", "mistral"),
        value="llama3",
        name="gpt-model",
)
Thats is! Save all changes
Prepare Python environment and run app
Install the required modules:
pip install openai hyperdiv
Run the app:
python start.py

Open the browser at http://localhost:8888

Final Result
The complete code for this tutorial is here.