
Ionic | App from Scratch
Prepare Environment
Install Node.JS
$ LATEST=18.16.0
$ nvm install $LATEST --latest-npm node --version
$ npm --version
$ nvm alias latest $LATEST
$ nvm alias default $LATEST
Install Ionic
$ npm -g install ionic@latest
$ ionic -version
Create an app from Template
ionic start --list
ionic start sidemenu sidemenu
ionic start super super
Introduction: First App
Prepare the base Application
Create basic structure from template
$ ionic start app_from_scratch sidemenu --type angular
$ cd app_from_scratch
Some name changing
To keep the structure of the filenames the same, i like to change the name for the routing module (changing the dash to a dot)
from
app-routing.module.ts
to
app-routing.module.ts
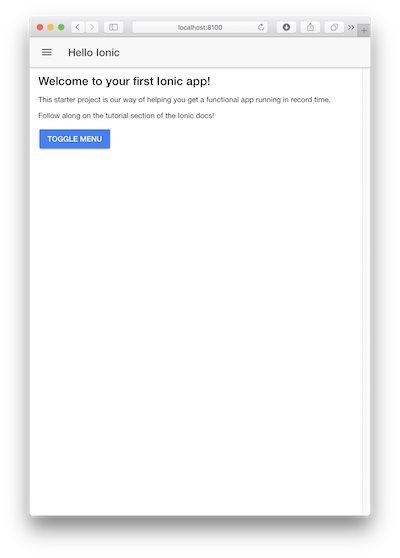
Show base app
$ ionic serve -c
Add a page
Create a new page with the name “About”
$ ionic generate page About
Add import to app.components.ts
  public appPages = [
    { title: 'Home', url: '/home', icon: 'home' },
    { title: 'List', url: '/list', icon: 'list' },
    { title: 'About', url: '/about', icon: '' }
  ];
Add item to app-routing.module.ts
const routes: Routes = [
  { path: '', redirectTo: 'home', pathMatch: 'full' },
  { path: 'home', loadChildren: './home/home.module#HomePageModule' },
  { path: 'list', loadChildren: './list/list.module#ListPageModule' },
  { path: 'about', loadChildren: './about/about.module#AboutPageModule' }
];
Save the file now, and you will see the sidemenu entry:
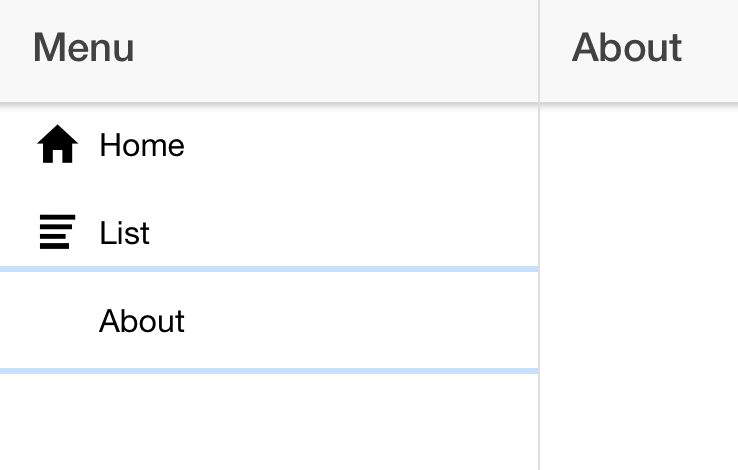
Looks great, but… where is the sidemenu?
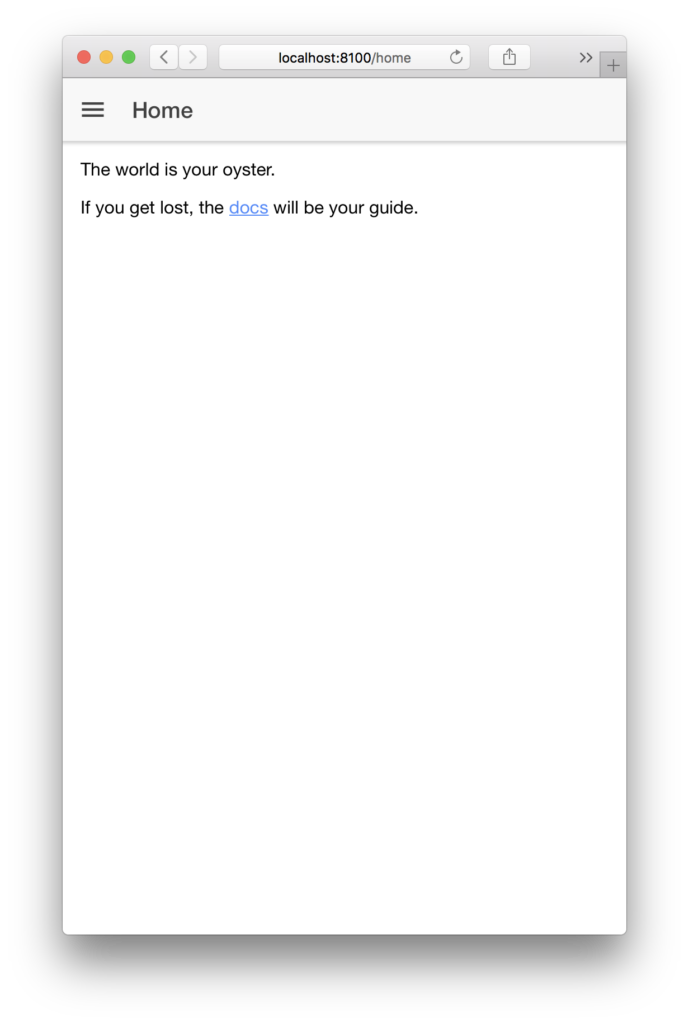
Ok, if you check the home page html code (home.page.html), you will find a button for the side menu
<ion-header>
<ion-toolbar>
<ion-buttons slot="start">
<ion-menu-button></ion-menu-button>
</ion-buttons>
<ion-title>Home</ion-title>
</ion-toolbar>
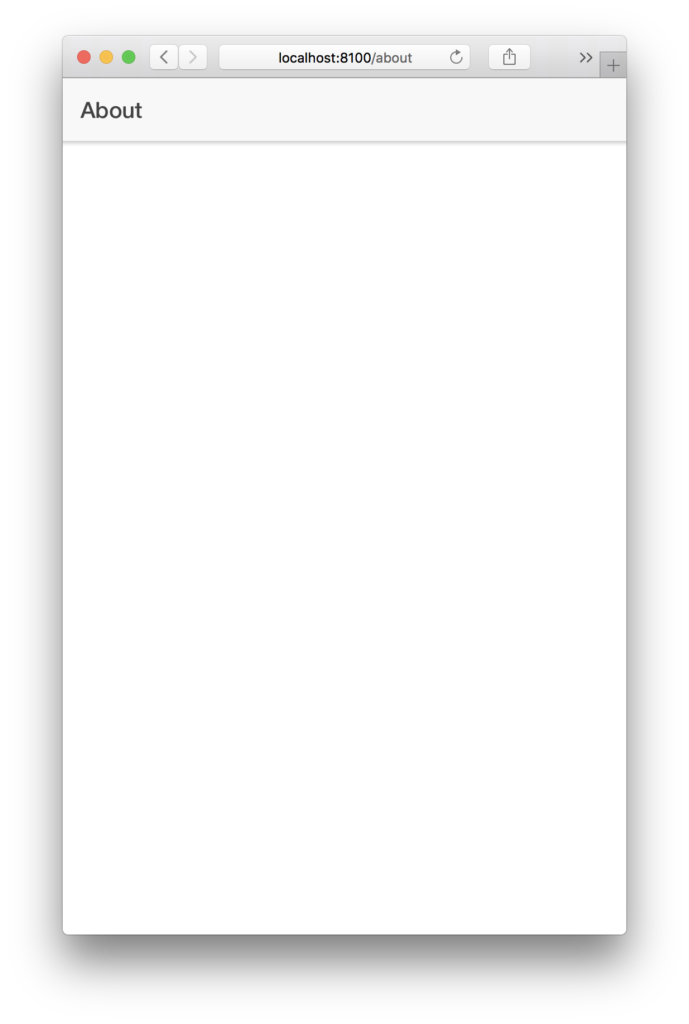
</ion-header>Missing in about.page.html:
<ion-header>
<ion-toolbar>
<ion-title>About</ion-title>
</ion-toolbar>
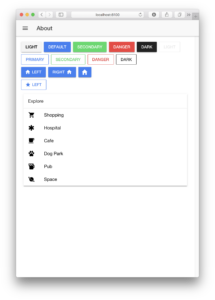
</ion-header>So, we had to add the desired code snippet
<ion-header>
    <ion-toolbar>
      <ion-buttons slot="start">
        <ion-menu-button></ion-menu-button>
      </ion-buttons>
      <ion-title>About</ion-title>
    </ion-toolbar>
  </ion-header>
Add some Ionic Components
Look at the Ionic Preview App, or read the documentation, if you what to dive in immediately.
Or just copy some code from the documentation page and try by yourself:
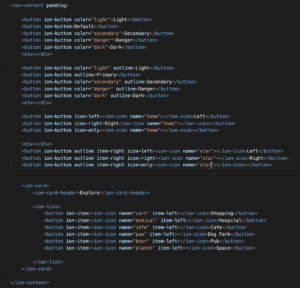
We describe the steps to add additional components in detail in this blog.
Directory structure of an application
One possible way to build an app is:
- create a base app from blank template
- add desired pages, code and components
To find out the necessary steps to add an new page or component, look into the templates and compare a template with the blank template. the differences are the required steps to an a component.
For example, if you want to add tabs to your app, then compare the blank template with the tabs template:
$ ionic start starter_tabs  tabs  --type angular --no-deps --no-git --no-link
$ ionic start starter_blank blank --type angular --no-deps --no-git --no-link
The diff command shows the changes between the two templates:
$ diff -r -w starter_tabs starter_blank
diff -r -w starter_blank/ionic.config.json starter_tabs/ionic.config.json
2c2
<   "name": "starter_blank",
---
>   "name": "starter_tabs",
diff -r -w starter_blank/package.json starter_tabs/package.json
2c2
<   "name": "starter_blank",
---
>   "name": "starter_tabs",
Only in starter_tabs/src/app: about
diff -r -w starter_blank/src/app/app-routing.module.ts starter_tabs/src/app/app-routing.module.ts
5,6c5
<   { path: '', redirectTo: 'home', pathMatch: 'full' },
<   { path: 'home', loadChildren: './home/home.module#HomePageModule' },
---
>   { path: '', loadChildren: './tabs/tabs.module#TabsPageModule' }
8d6
<
diff -r -w starter_blank/src/app/app.module.ts starter_tabs/src/app/app.module.ts
3c3
< import { RouterModule, RouteReuseStrategy, Routes } from '@angular/router';
---
> import { RouterModule, RouteReuseStrategy } from '@angular/router';
9d8
< import { AppComponent } from './app.component';
10a10
> import { AppComponent } from './app.component';
Only in starter_tabs/src/app: contact
diff -r -w starter_blank/src/app/home/home.module.ts starter_tabs/src/app/home/home.module.ts
0a1,2
> import { IonicModule } from '@ionic/angular';
> import { RouterModule } from '@angular/router';
3d4
< import { IonicModule } from '@ionic/angular';
5,6d5
< import { RouterModule } from '@angular/router';
<
10a10
>     IonicModule,
13,19c13
<     IonicModule,
<     RouterModule.forChild([
<       {
<         path: '',
<         component: HomePage
<       }
<     ])
---
>     RouterModule.forChild([{ path: '', component: HomePage }])
diff -r -w starter_blank/src/app/home/home.page.html starter_tabs/src/app/home/home.page.html
3,5c3
<     <ion-title>
<       Ionic Blank
<     </ion-title>
---
>     <ion-title>Home</ion-title>
diff -r -w starter_blank/src/app/home/home.page.spec.ts starter_tabs/src/app/home/home.page.spec.ts
14,15c14
<     })
<       .compileComponents();
---
>     }).compileComponents();
diff -r -w starter_blank/src/app/home/home.page.ts starter_tabs/src/app/home/home.page.ts
6c6
<   styleUrls: ['home.page.scss'],
---
>   styleUrls: ['home.page.scss']
8,10c8
< export class HomePage {
<
< }
---
> export class HomePage {}
Only in starter_tabs/src/app: tabs
Some differences come from the different names (starter_blank vs. starter_tabs, HomePage vs. TabsPage). The significant changes are those, which are new in the starter_tabs directory.