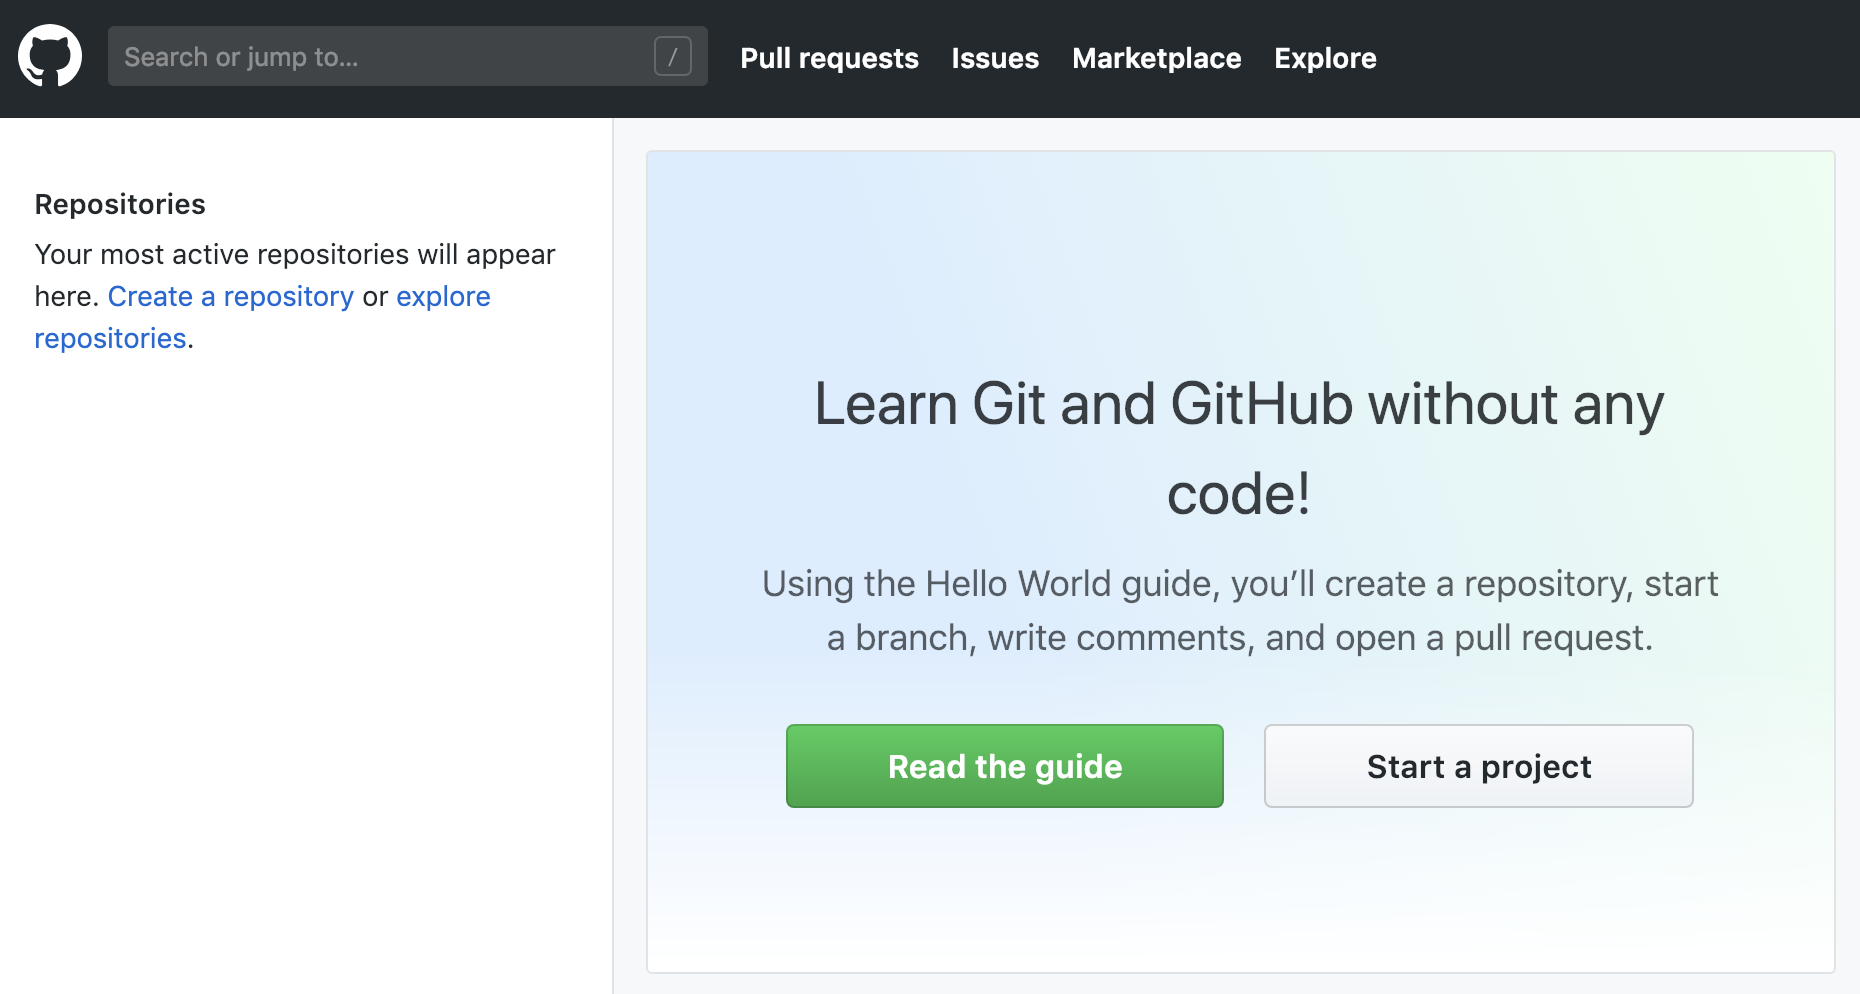
Github ist eine Webseite, die es ermöglicht, gemeinsam an einem Softwareprojekt zu arbeiten.
Zusätzlich gibt es eine Versionsverwaltung: es wird also jede Änderung mit protokolliert, so das diese überprüft und rückgängig gemacht werden kann.
Einstieg
Der Arbeitsalltag eines Entwicklers, der Github nutzt sieht meistens wie folgt aus
er erstellt einmalig ein Github Konto
er richtet ein Repository ein, in dem er seine Programme speichert und verwaltet
das Repository wird “ausgecheckt“. Dadurch wird eine lokale Kopie auf der Festplatte angelegt
er arbeitet und programmiert in dieser lokalen Kopie
wenn er mit den Änderungen fertig ist, dann wird das Repository “eingecheckt“. Alle Änderungen sind dann wieder im Repository auf dem GibHub server gespeichert.
Mehr über das Arbeiten mit GibHub kann man hier und hier nachlesen.
Ausgecheckt wird das Repository mit dem Kommando git clone. Man erstellt einen “Clone” der Repositories auf dem lokalen Rechner. Das Repository wird in einem Ordner erstellt, der den Namen des Repositories erhält:
Änderungen durchführen
Im nächsten Schritt erfolgt das Arbeiten mit dem Repository. Hier werden die gewünschten Änderungen an den Dateien durchgeführt.
Beispielhaft erstellen wir eine neue Datei TODO.md:
Status anzeigen
Mit dem Kommando git status können wir die Änderungen anzeigen lassen. Damit sehen wir, was sich im Vergleich zum Repository auf Github geändert hat.
In unserem Beispiel wird die neue Datei angezeigt als Untracked file:
Änderungen übernehmen
Mit Hilfe der Kommandos git add wird die durchgeführten Änderungen “vorgemerkt” für die Aufnahme in das Repository.
Das eigentliche hinzufügen erfolgt durch das Bestätigen der Änderungen: mit dem Kommando git commit. Durch den Parameter -m wird eine Beschreibung der Änderung hinzugefügt.
Einchecken des Repositories
Zum Abschluss wollen wir die bestätigten Änderungen in das Repository hochladen.
Hier benötigen wir natürlich die erforderlichen Rechte.
Wir erhalten diese, in dem wir unseren Benutzernamen mit angeben. Wir passen dazu die URL des Repositories an:
Jetzt erfolgt das Hochladen mit git push. Es muss nur noch das Passwort angegeben werden:
Der abschliessende Status zeigt, das alle Änderungen übernommen sind und das lokale Repository auf dem gleiche Stand ist, also “clean”
Repository auf Github prüfen
Ein Blick auf die Webseite unseres Repositories zeigt, das die Änderungen übernommen wurde. Wir sehen die neue Datei mit den von uns verwendeten Kommentar.
In this blog, we will discus the steps to add additional content (pages, components) to your existing app. We will start with the App From Scratch we create here.
Preparation
Configure Visual Studio Code
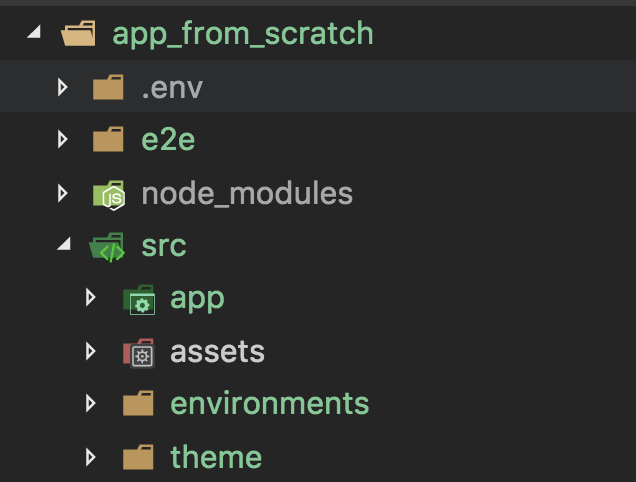
First, we will configure Visual Studio Code to show only the desired folders for this tutorial.
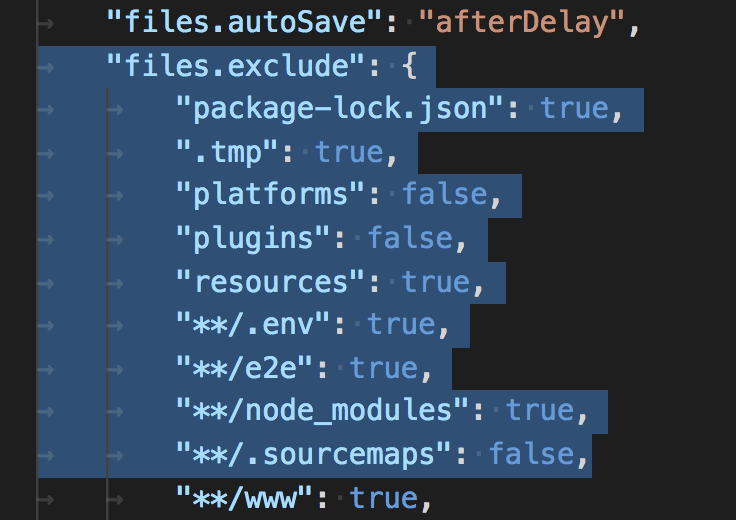
We will hide the folders node_modules, e2e and .env
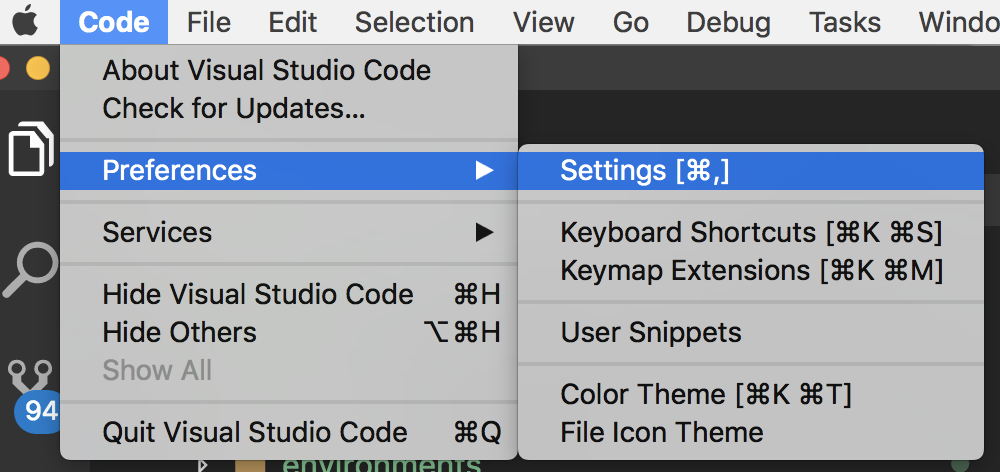
To do this, select Code / Prefecences / Settings
Visual Studio Code will open the settings in a editor window. You will see the default user settings on the left, and the current user settings on the right.
Look for the lines unter “files.exclude” and add or edit the desired content.
Setting to true means exclude (remember the title of the group: files.exclude)
Open required windows
As we add some content, we want to see immediately the results.
So, i opened three windows
Visual Studio Code
Browser Windows
Console, where we start the ionic server
Change directory structure
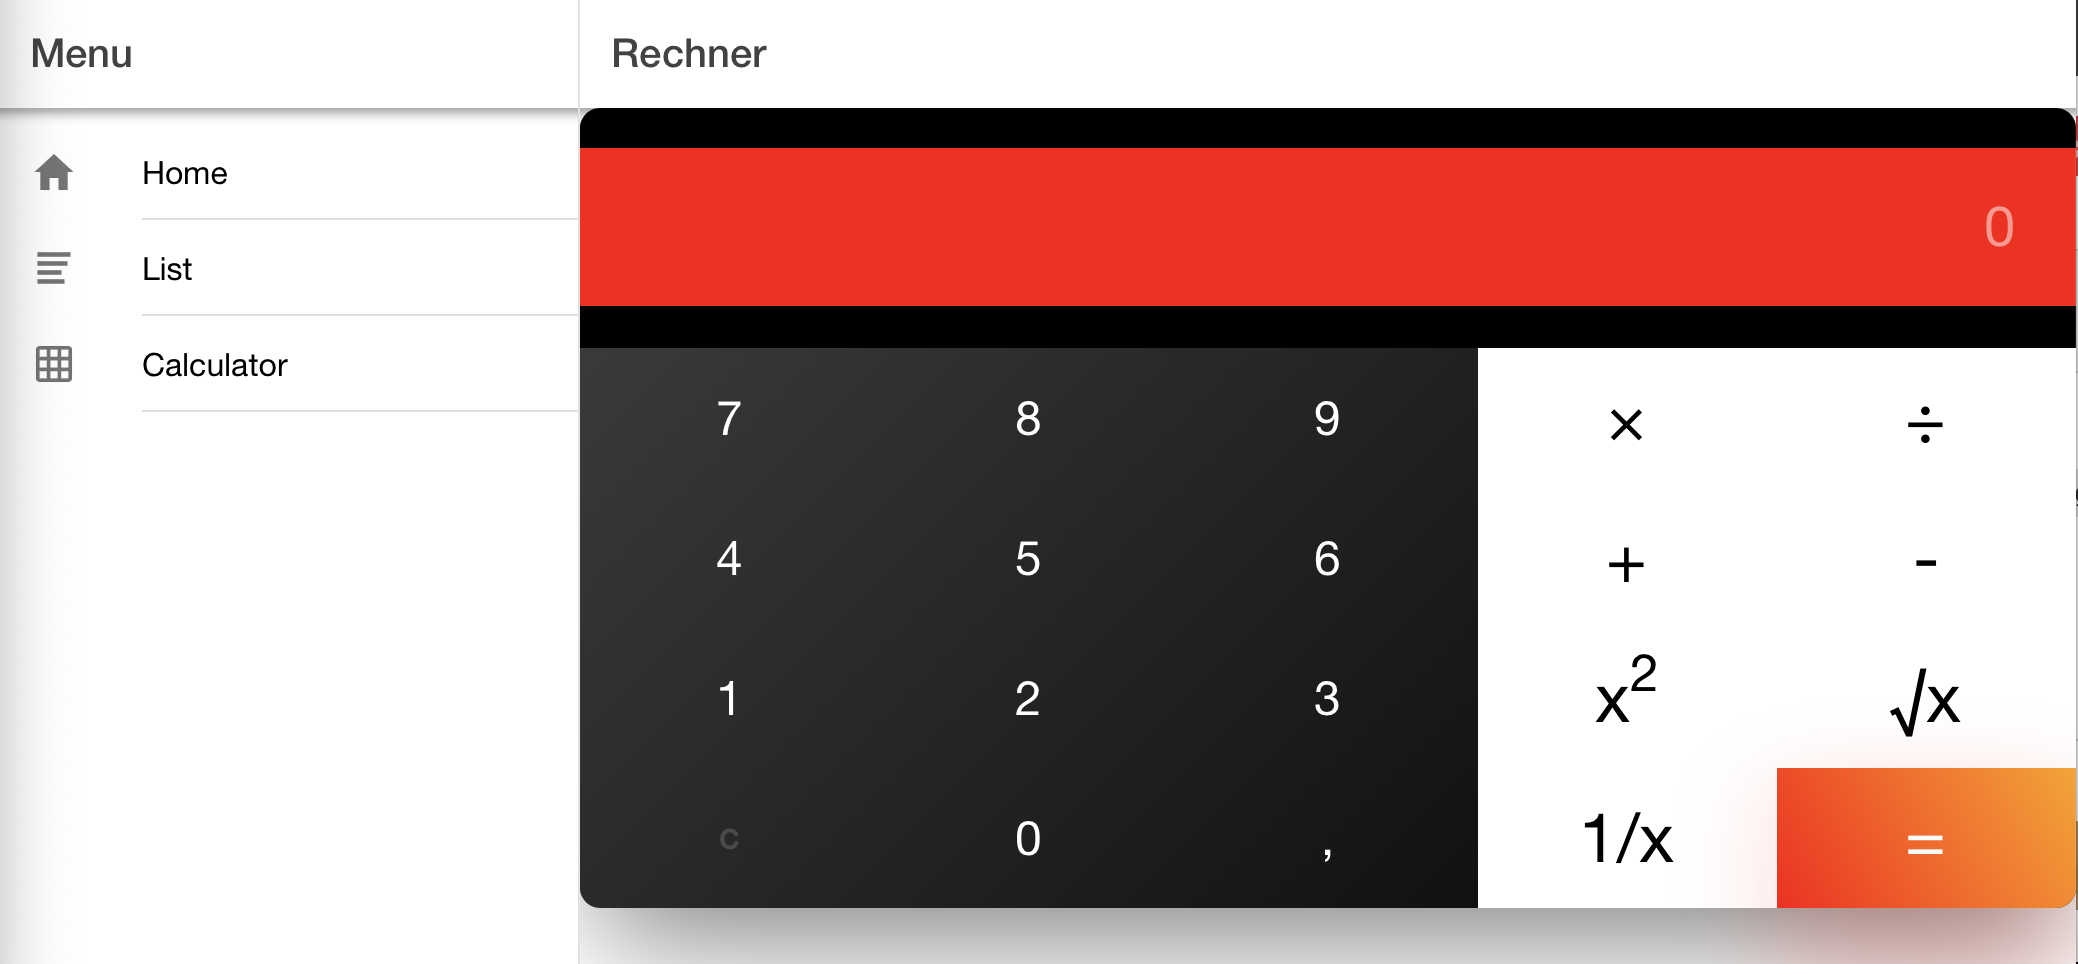
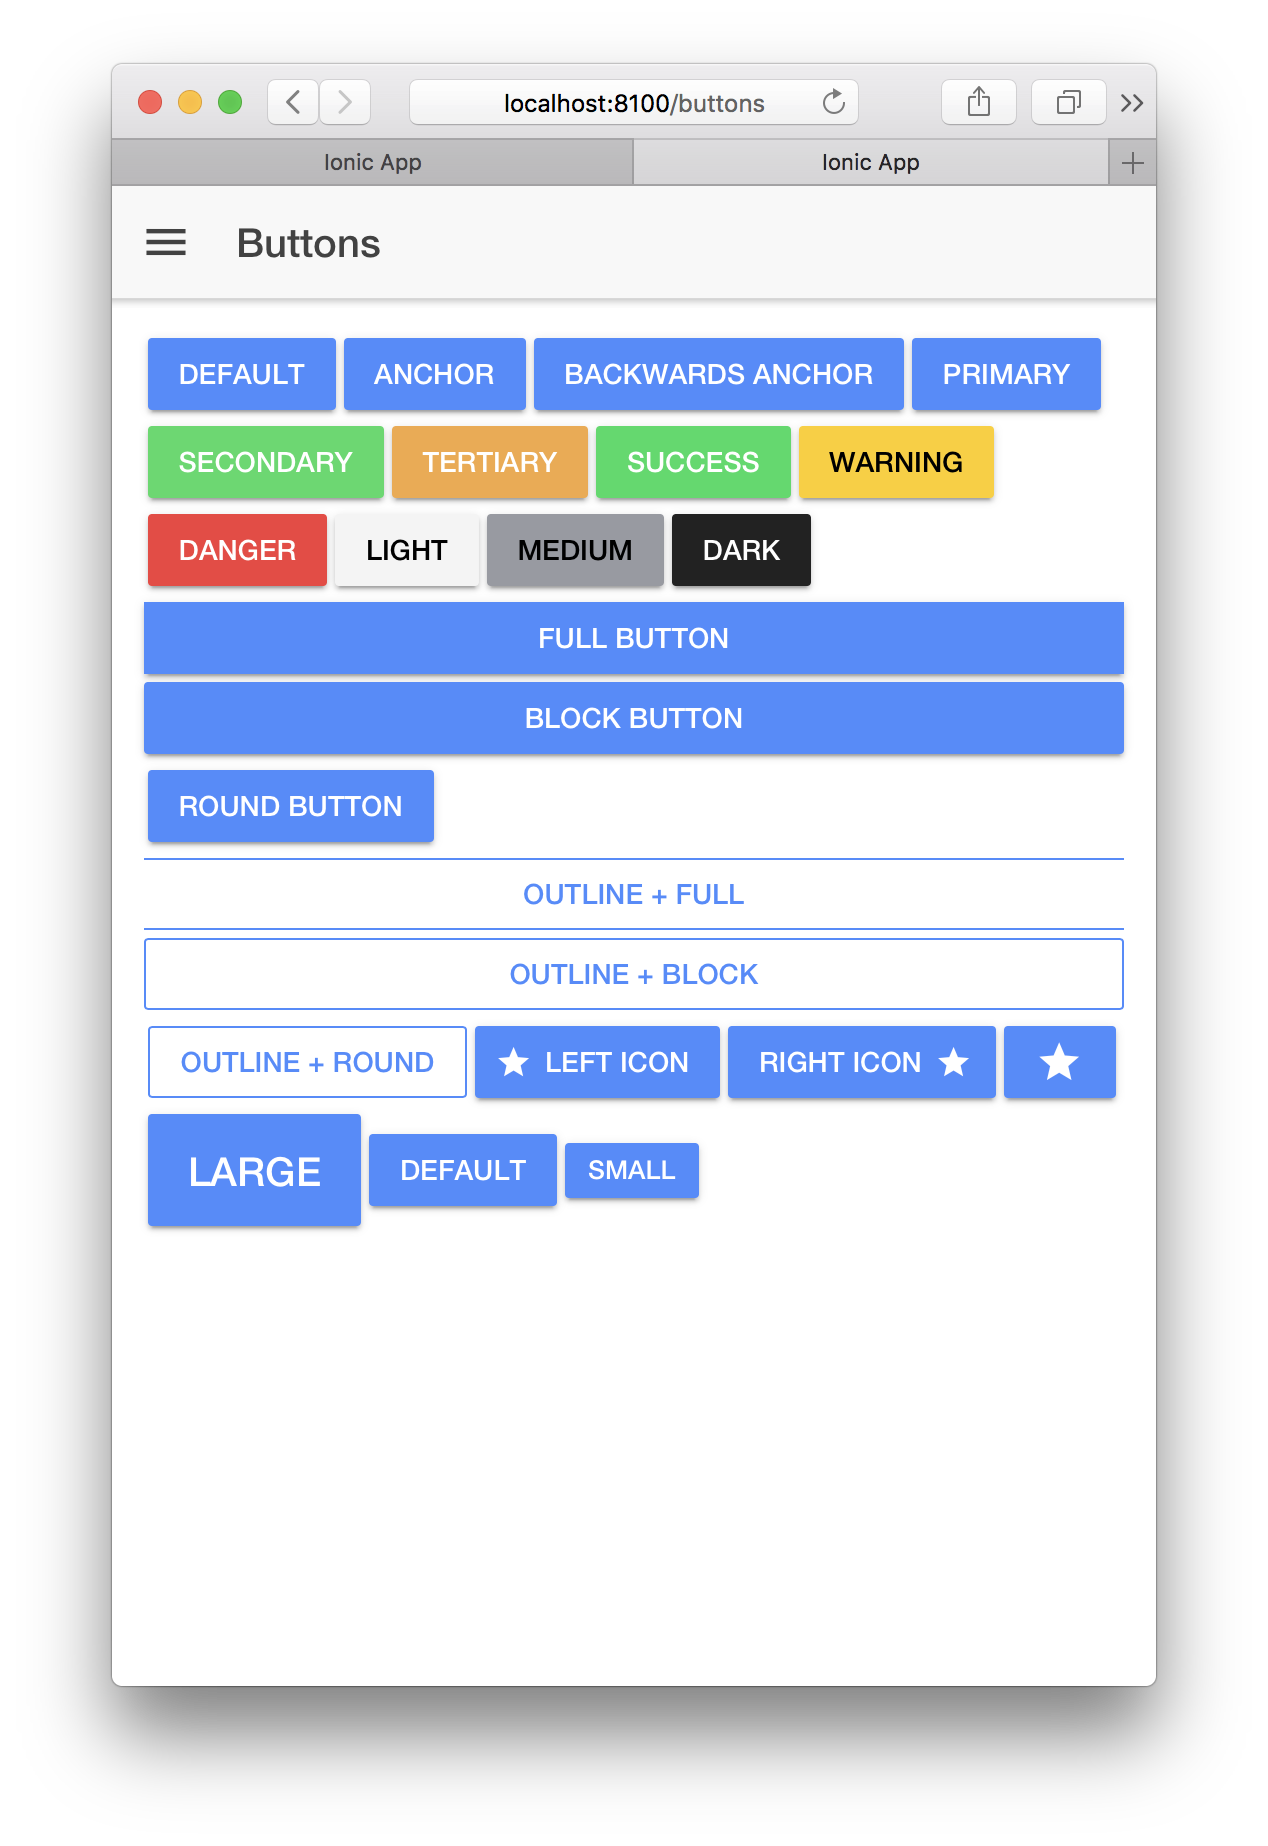
Now we can start: Lets add some pages we will use to contain Ionic Components (Buttons, Text, Switches, Lists, Grids, …)
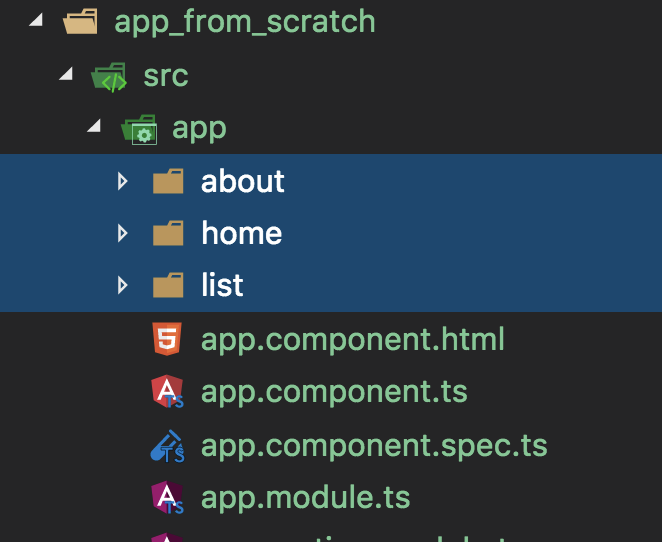
Out app have 3 pages. You will find them in them explorer window
First, i want to change the directory structure.
For each component type, we will add, i want to a a separate folder.
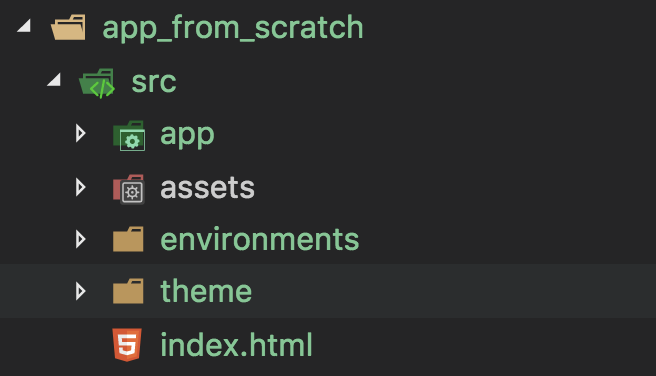
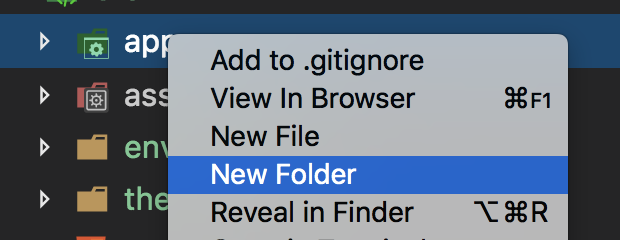
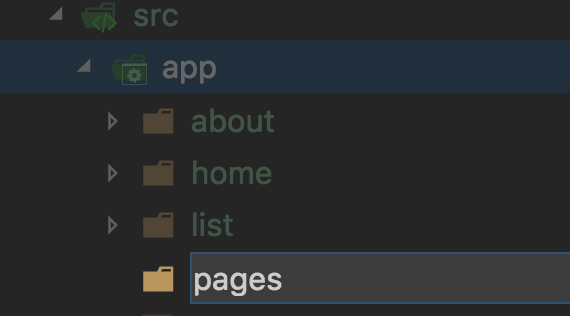
So, first: create a folder pages for our pages
Next, move the pages folders home, list and about into the newly create folder
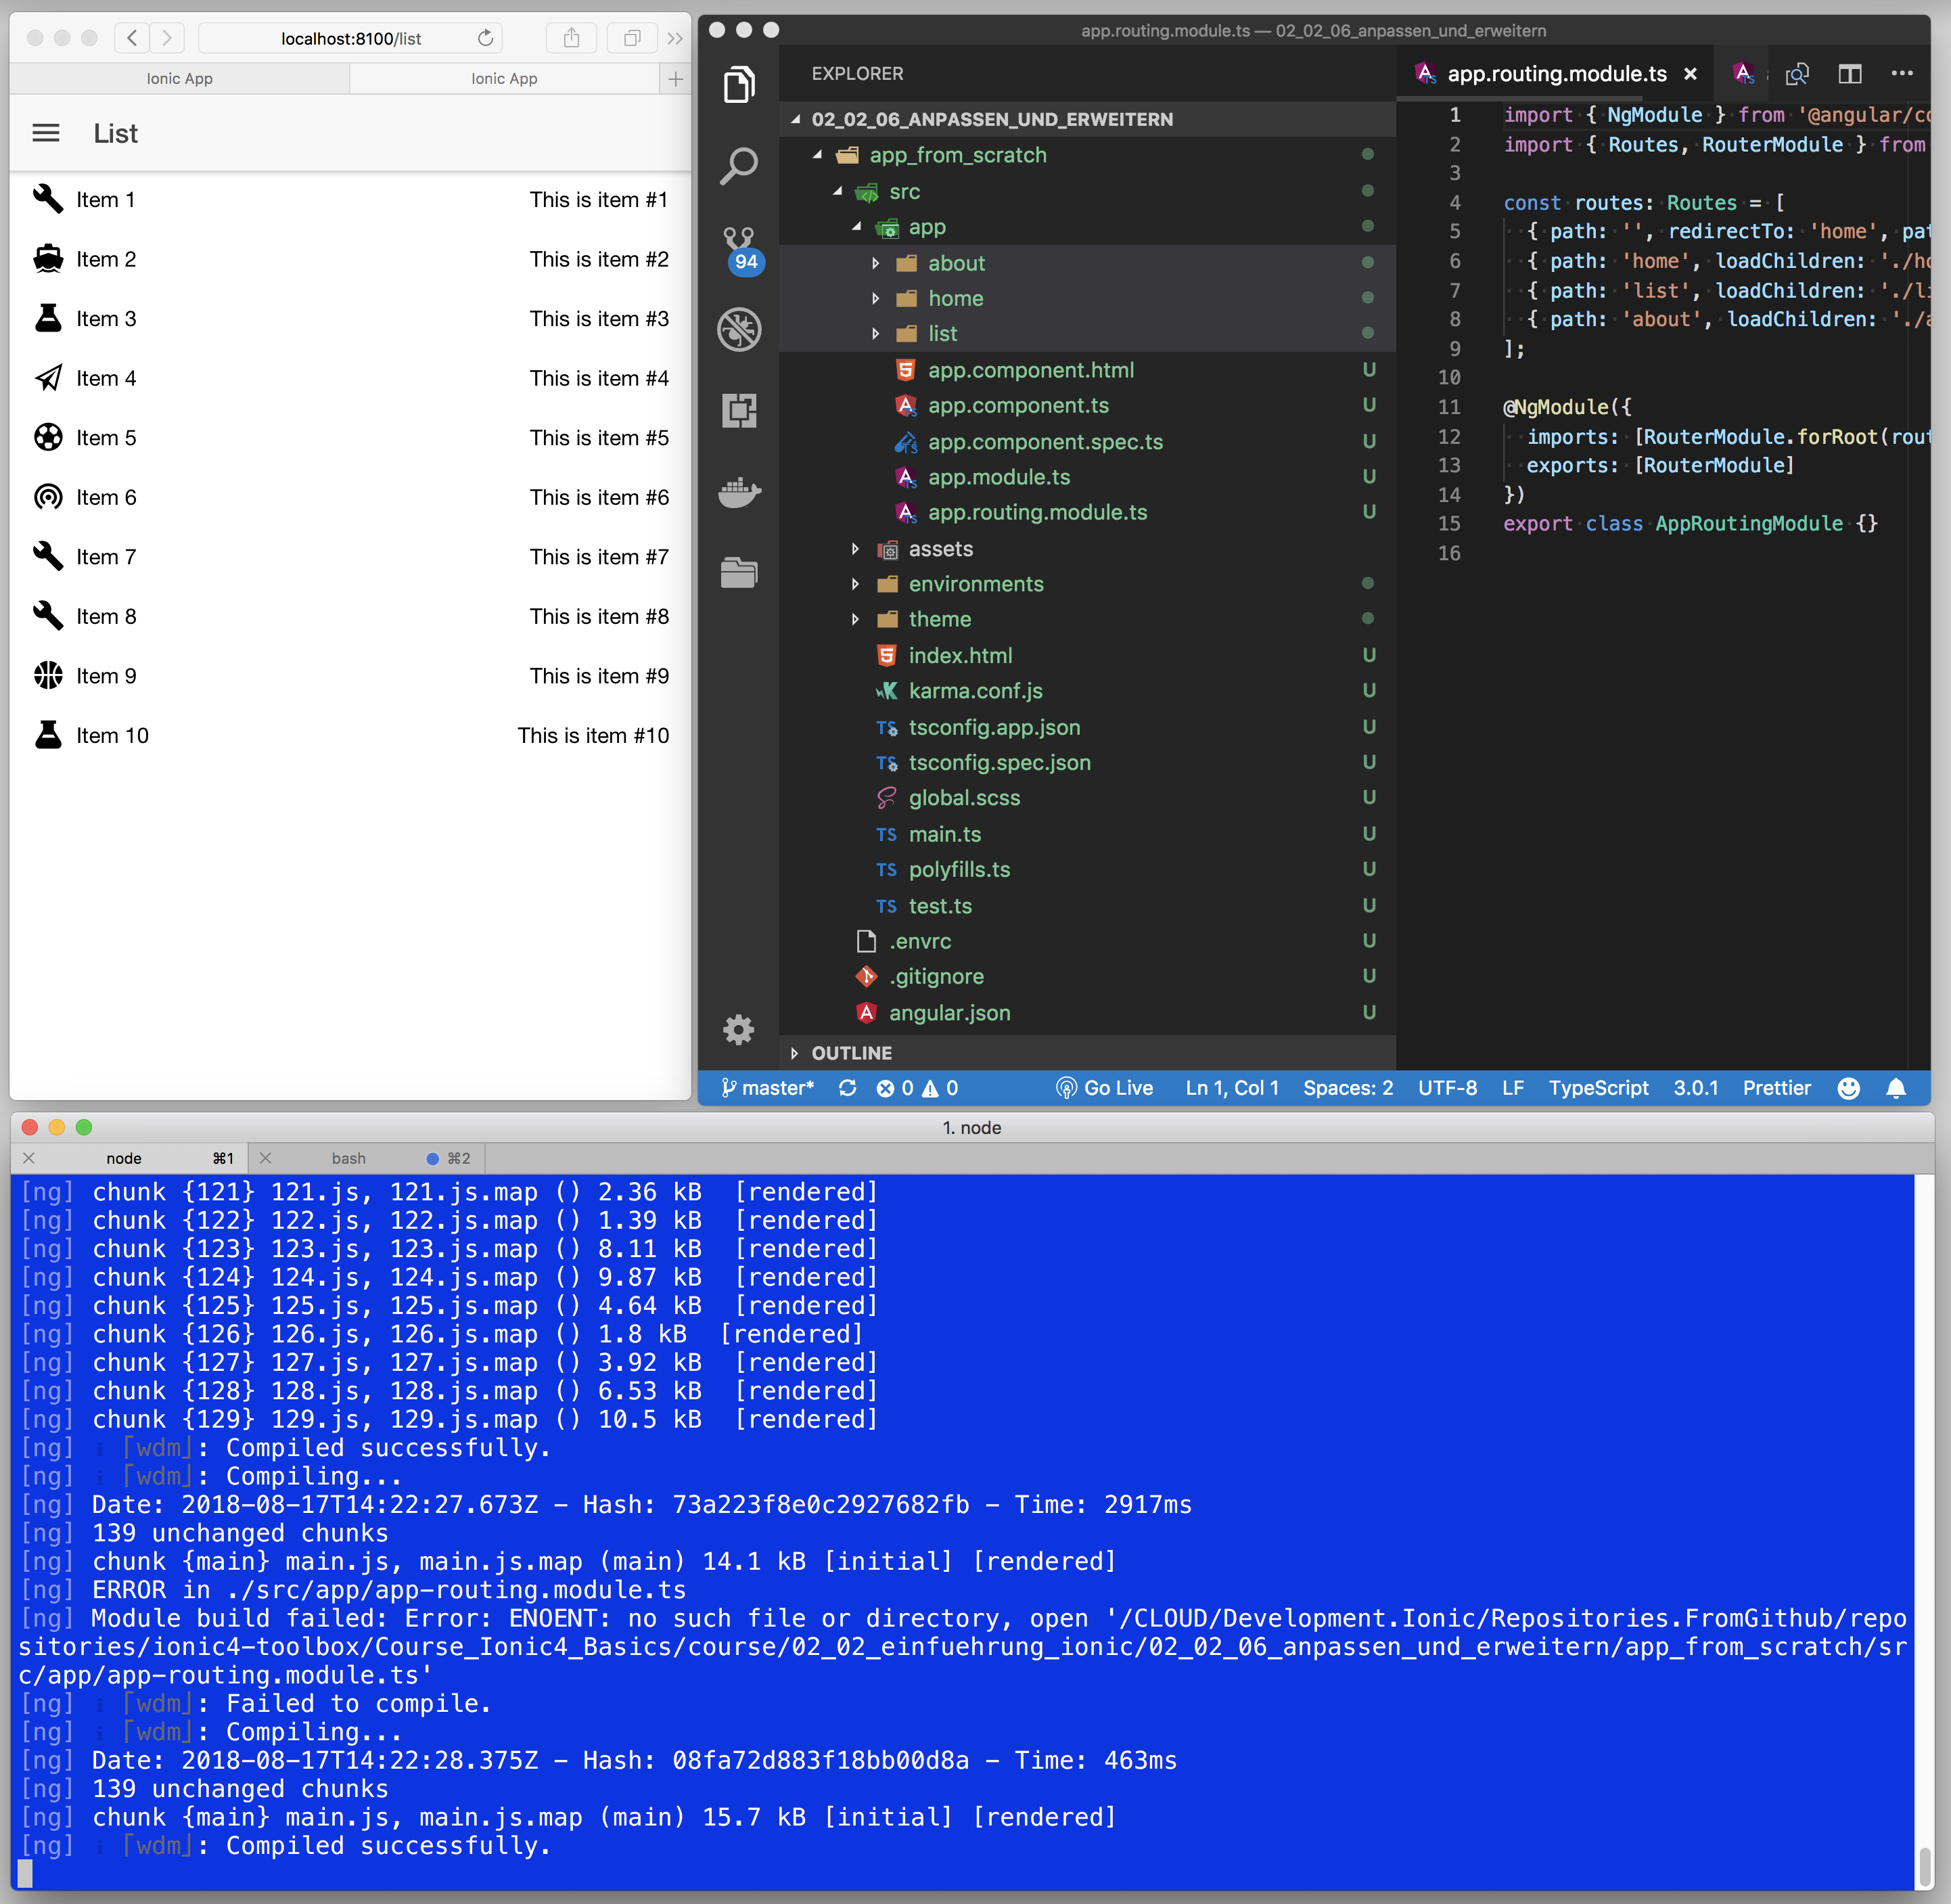
After that, go into the console, stop the running ionic serve command and restart it to force a new compilation of our app
$ ionic serve
> ng run app:serve --host=0.0.0.0 --port=8100
In the console window, we will see an error
[ng] ERROR in Could not resolve module ./home/home.module relative to .../app_from_scratch/src/app/app-routing.module.ts
This is, because we changes the directory path of the pages. We had to adjust the new path in out app: in app-routing.module.ts
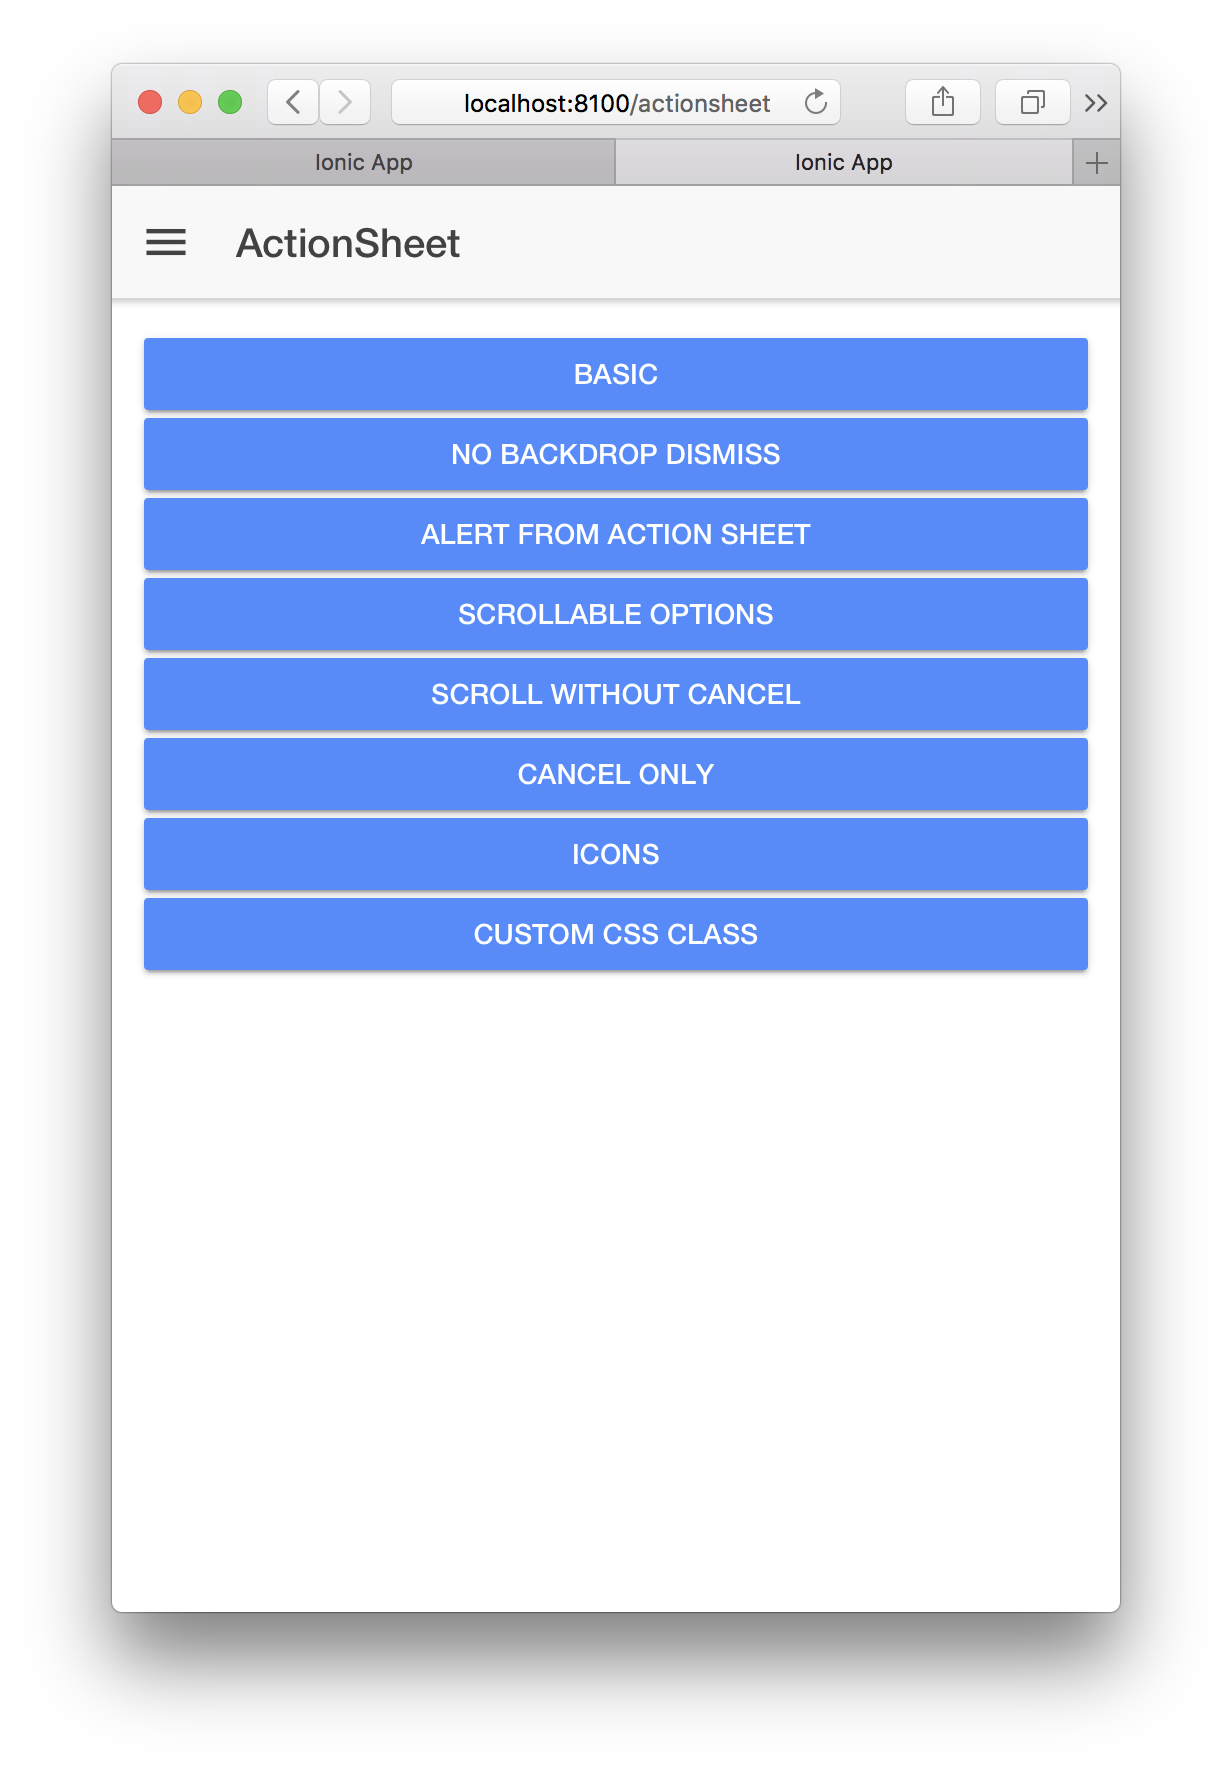
Ionic offers a huge amount of amazing components. So, we will demonstrate the use of this components step by step. We will take the inspiration from here.
Notice the different spelling of the url (different case of letters). Whatever spelling you choose, it has to fit to the path value in the app-routing.module.ts
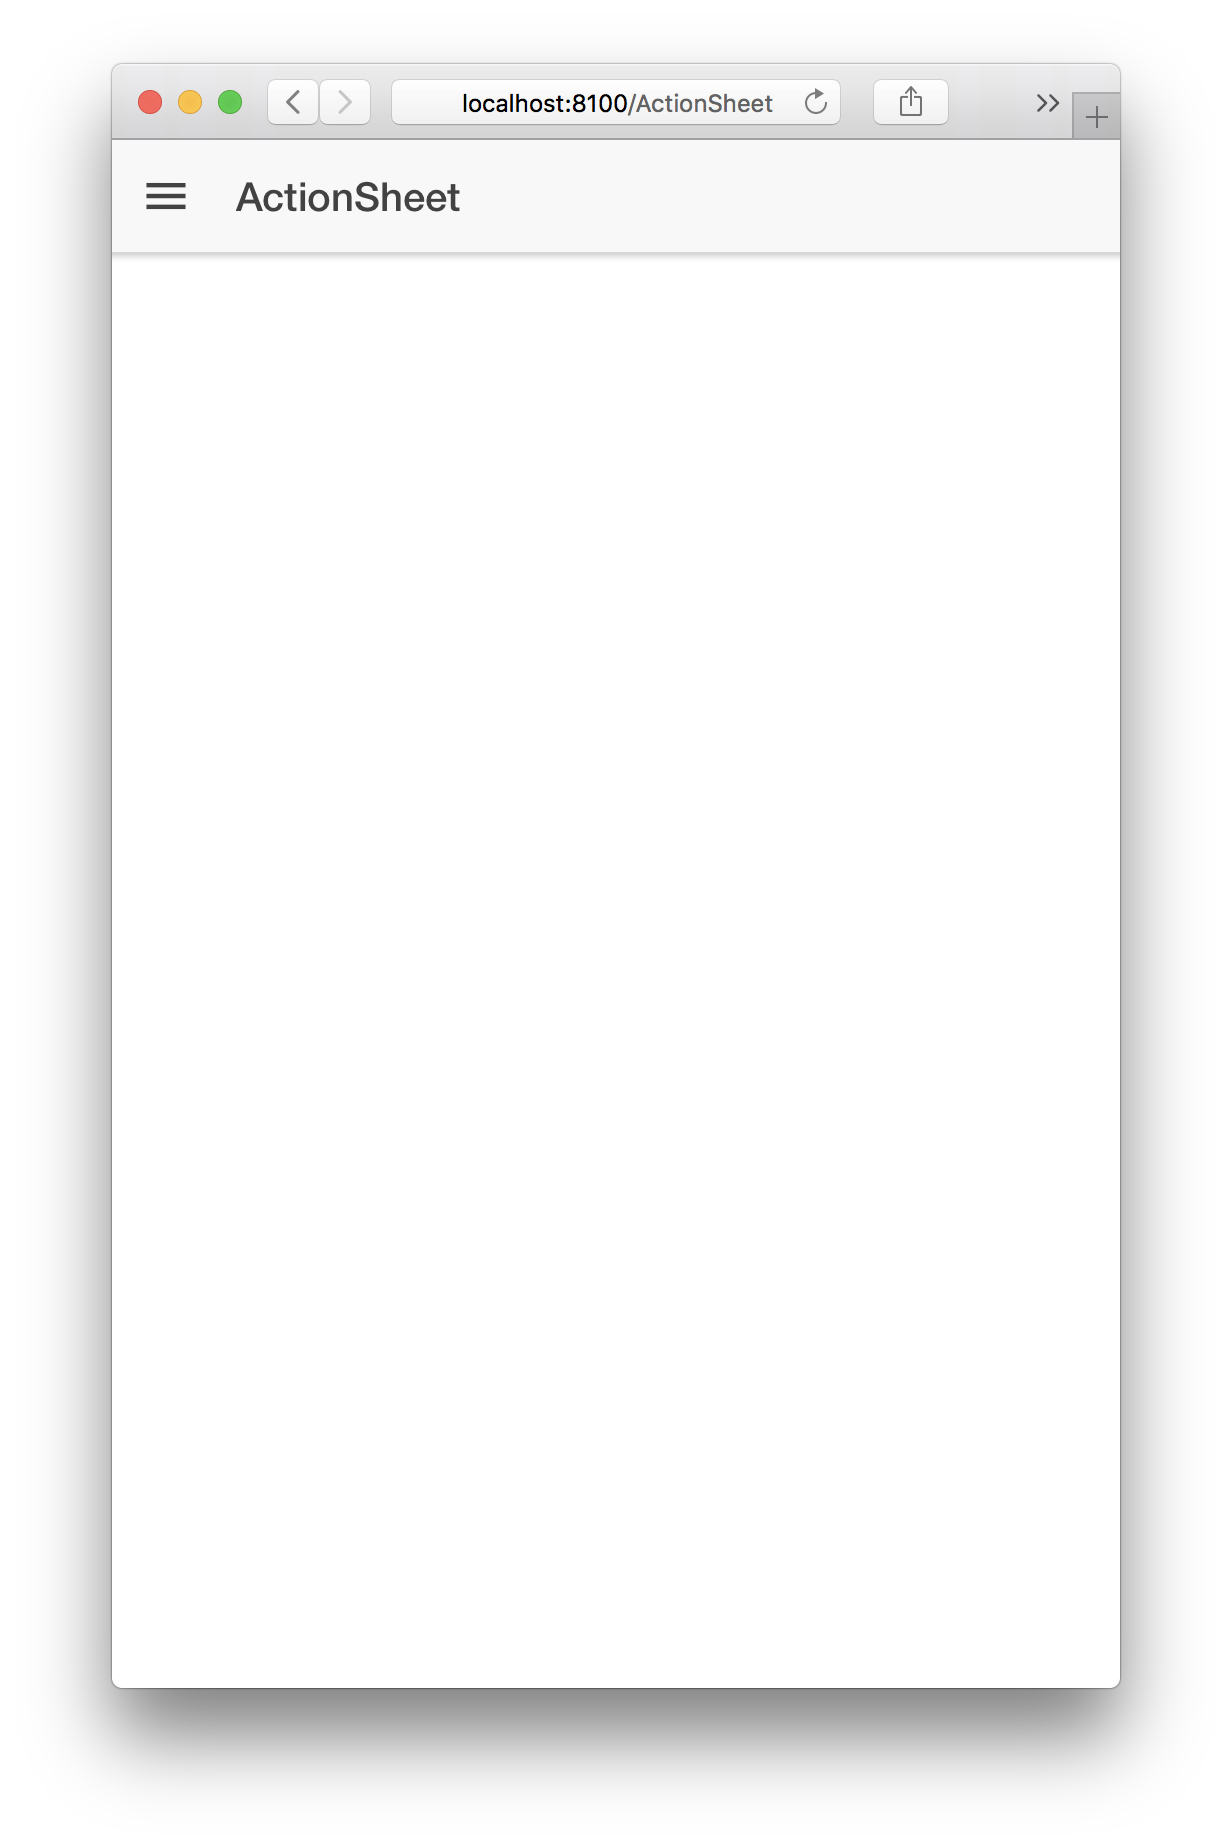
Next, move the page to the pages folder and change the path in app-routing.modules.ts
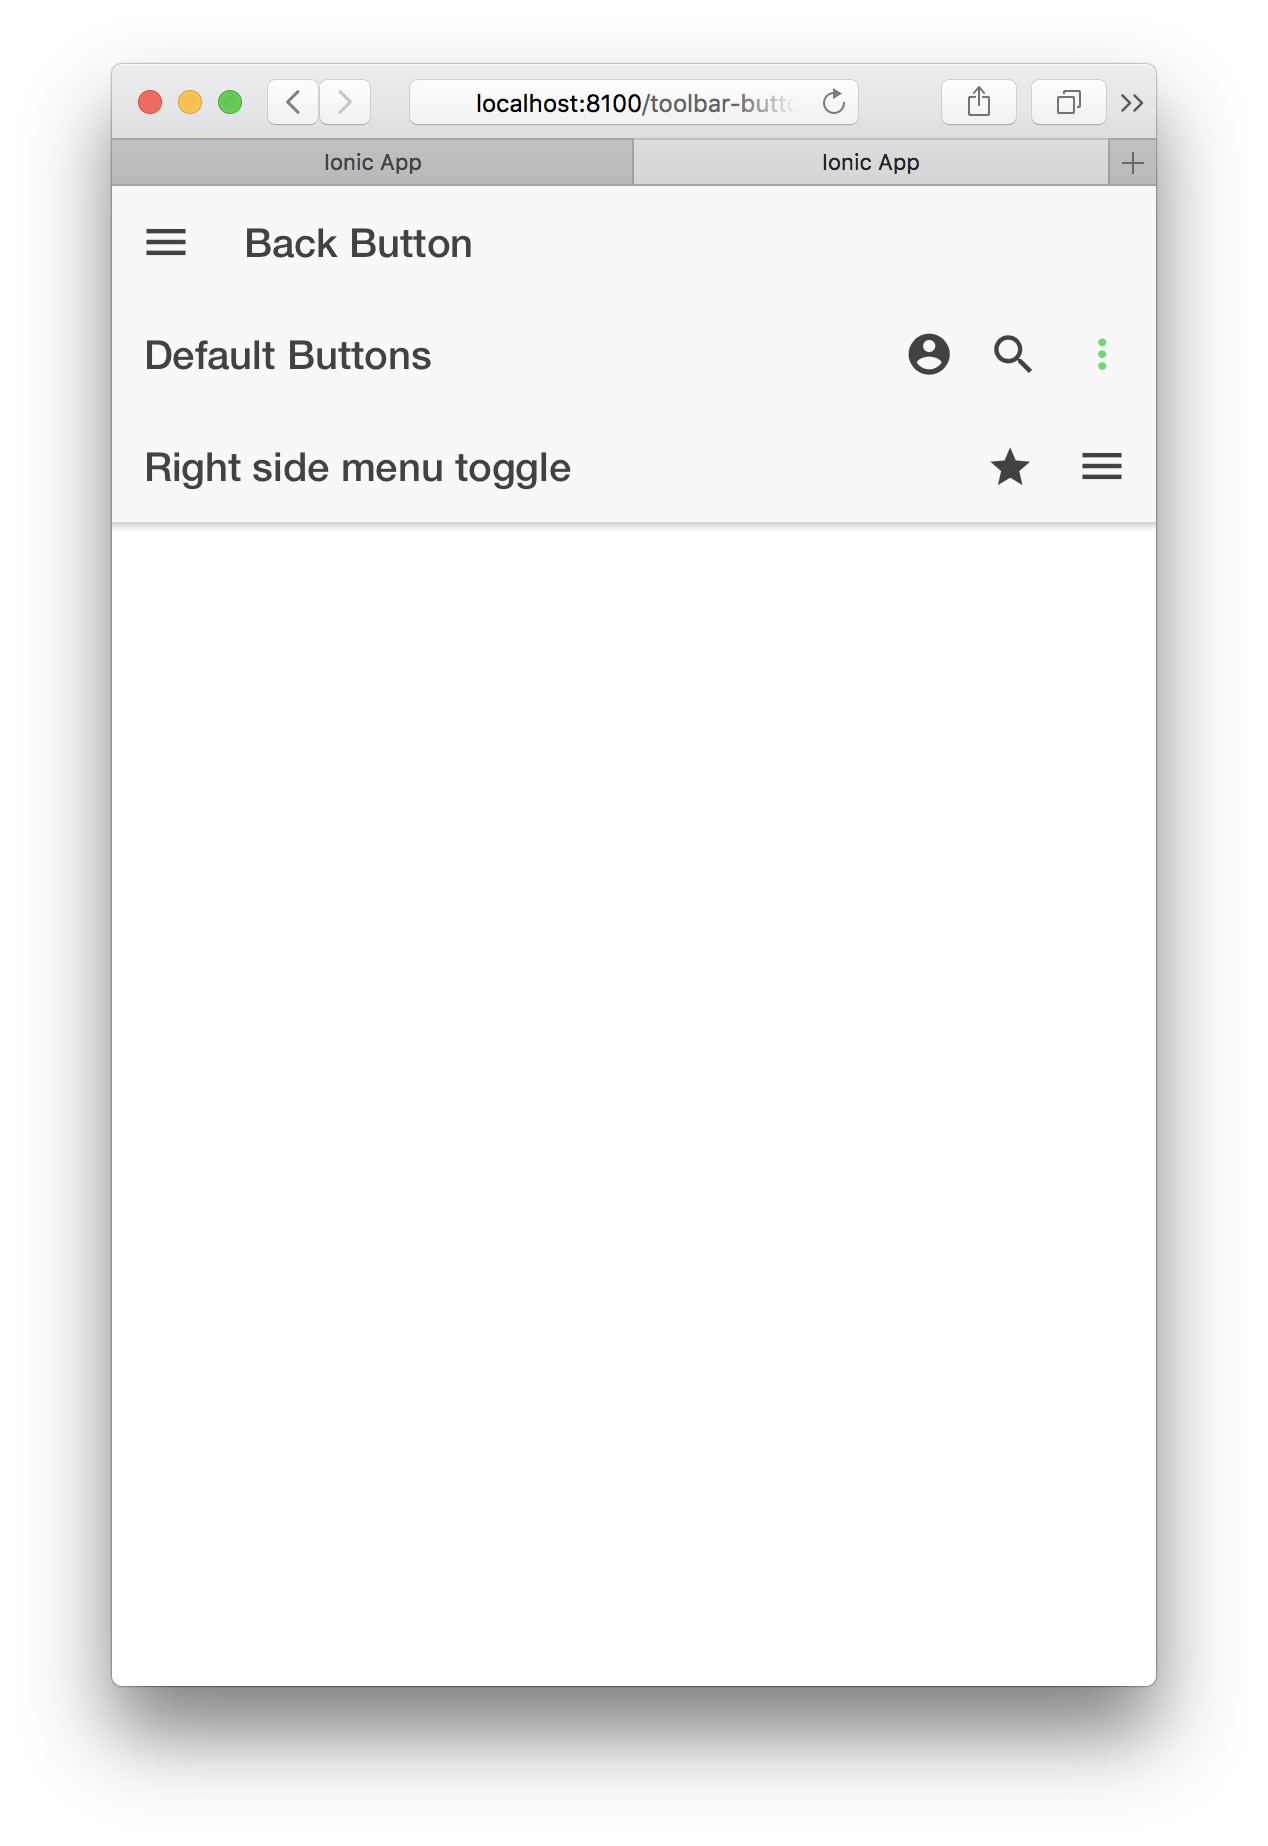
Add the sidemenu button to the actionSheet Page (in action-sheet.page.html)
We use cookies on our website to give you the most relevant experience by remembering your preferences and repeat visits. By clicking “Accept All”, you consent to the use of ALL the cookies. However, you may visit "Cookie Settings" to provide a controlled consent.
This website uses cookies to improve your experience while you navigate through the website. Out of these, the cookies that are categorized as necessary are stored on your browser as they are essential for the working of basic functionalities of the website. We also use third-party cookies that help us analyze and understand how you use this website. These cookies will be stored in your browser only with your consent. You also have the option to opt-out of these cookies. But opting out of some of these cookies may affect your browsing experience.
Necessary cookies are absolutely essential for the website to function properly. These cookies ensure basic functionalities and security features of the website, anonymously.
Cookie
Duration
Description
cookielawinfo-checkbox-analytics
11 months
This cookie is set by GDPR Cookie Consent plugin. The cookie is used to store the user consent for the cookies in the category "Analytics".
cookielawinfo-checkbox-functional
11 months
The cookie is set by GDPR cookie consent to record the user consent for the cookies in the category "Functional".
cookielawinfo-checkbox-necessary
11 months
This cookie is set by GDPR Cookie Consent plugin. The cookies is used to store the user consent for the cookies in the category "Necessary".
cookielawinfo-checkbox-others
11 months
This cookie is set by GDPR Cookie Consent plugin. The cookie is used to store the user consent for the cookies in the category "Other.
cookielawinfo-checkbox-performance
11 months
This cookie is set by GDPR Cookie Consent plugin. The cookie is used to store the user consent for the cookies in the category "Performance".
viewed_cookie_policy
11 months
The cookie is set by the GDPR Cookie Consent plugin and is used to store whether or not user has consented to the use of cookies. It does not store any personal data.
Functional cookies help to perform certain functionalities like sharing the content of the website on social media platforms, collect feedbacks, and other third-party features.
Performance cookies are used to understand and analyze the key performance indexes of the website which helps in delivering a better user experience for the visitors.
Analytical cookies are used to understand how visitors interact with the website. These cookies help provide information on metrics the number of visitors, bounce rate, traffic source, etc.
Advertisement cookies are used to provide visitors with relevant ads and marketing campaigns. These cookies track visitors across websites and collect information to provide customized ads.