Angular | Working with I18N
In this post, you will learn how to get started with Angular I18n using ngx-translate, the internationalization (i18n) library for Angular. We will cover the following topics:
- setup new angular app
- install required dependencies
- add bootstrap as ui framework
- create app with demo page and translation services
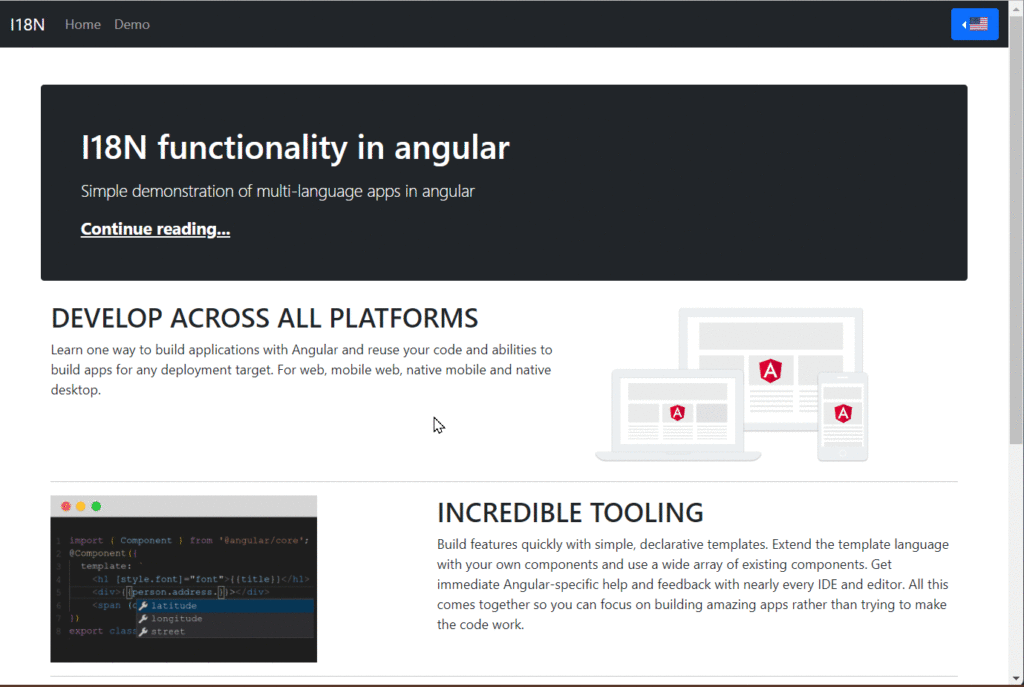
This will be the final result (click to show video). Source code for this post is on GitHub.

Inhaltsverzeichnis
Setup new Angular app
➜ ng new app
➜ cd app
Add required modules
➜ npm install @ngx-translate/core @ngx-translate/http-loader rxjs --save
Add Bootstrap as UI framework
We need the libraries for Bootstrap and flag icons. Download the required files into your asset/vendor/bootstrap/5.3.1 folder:
Flags Icons need a CSS file with the corresponding images for the flags, so we use the archive from GitHub.
- Flags Icons Archiv: https://github.com/lipis/flag-icons
Download and extract the archive into the folder assets/vendor/flag-icons
Current folder structure
This is our current folder structure:

Setup Application
We choose the following structure for the HTML architecture.
index.htmlcontains the requiredcssandjsfiles.
Also, the<app-root>component, which loads our appapp.component.htmlcontains the main structure of every page.
This includes header, navigation, place for main content and footer- The main content is inserted via the
<router-outlet>
index.html
We will add the corresponding file in the main index.html in our project.
<!doctype html>
<html lang="en" class="h-100">

<head>
  <meta charset="utf-8">
  <title>I18N</title>
  <base href="/">
  <meta name="viewport" content="width=device-width, initial-scale=1">
  <link rel="icon" type="image/x-icon" href="favicon.ico">

  <link rel="stylesheet" href="/assets/vendor/bootstrap.min.css">
  <link rel="stylesheet" href="/assets/vendor/flag-icons.min.css">

  <link rel="stylesheet" href="/assets/vendor/bootstrap/5.1.3/css/bootstrap.min.css">
  <link rel="stylesheet" href="/assets/vendor/flag-icons/css/flag-icons.min.css">

  <link rel="stylesheet" href="/assets/css/default.css">

</head>

<body class="d-flex flex-column h-100">
  <app-root class="h-100"></app-root>

  <script src="assets/vendor/bootstrap/5.1.3/js/bootstrap.bundle.min.js"></script>
</body>

</html>
app.component.html
We borrow the main structure from the bootstrap example ‘Sticky Footer with Navbar‘ with some changes in the navigation bar.
<header>
<nav class="navbar navbar-expand-md navbar-dark fixed-top bg-primary">
<div class="container-fluid">
<a class="navbar-brand" href="#">
<img src="assets/img/logo-angular.png" height="40px" width="auto">
</a>
<button class="navbar-toggler" type="button" data-bs-toggle="collapse"
data-bs-target="#navbarCollapse"
aria-controls="navbarCollapse"
aria-expanded="false"
aria-label="Toggle navigation">
<span class="navbar-toggler-icon"></span>
</button>
<div class="collapse navbar-collapse" id="navbarCollapse">
<ul class="navbar-nav me-auto mb-2 mb-md-0">
<li class="nav-item">
<a class="nav-link active" aria-current="page" href="#">Home</a>
</li>
</ul>
<div class="btn-group dropstart">
<button class="btn btn-primary dropdown-toggle" type="button"
id="dropdownFlags"
data-bs-toggle="dropdown" aria-expanded="false">
<span class="flag-icon flag-icon-{{currentlang}}"></span>
</button>
<ul class="dropdown-menu">
<li *ngFor="let lang of languages" [value]="lang"
(click)="useLanguage(lang)">
<a class="dropdown-item"
[ngClass]="{'active': currentlang == lang}">
<span class="flag-icon flag-icon-{{lang}}"></span>
{{lang | uppercase}}
</a>
</li>
</ul>
</div>
</div>
</div>
</nav>
</header><main class="flex-shrink-0">
<div class="container">
<router-outlet></router-outlet>
</div>
</main><footer class="footer mt-auto py-3 bg-dark">
<div class="container">
<span class="text-muted">(C) Ralph Göstenmeier</span>
</div>
</footer>app.component.ts
import { Component } from '@angular/core';
import { TranslateService } from '@ngx-translate/core';

import defaultLanguage from '../assets/i18n/de.json';

@Component({
    selector: 'app-root',
    templateUrl: './app.component.html',
    styleUrls: ['./app.component.scss'],
})
export class AppComponent {
    title = 'I18N';

    languages = ['us', 'de', 'fr', 'sp'];
    currentlang = 'us';

    constructor(private translate: TranslateService) {
        this.currentlang = 'de';
        translate.setTranslation(this.currentlang, defaultLanguage);
        translate.setDefaultLang(this.currentlang);
    }

    ngOnInit(): void {}

    useLanguage(language: string): void {
        this.currentlang = language;
        this.translate.use(language.toLowerCase());
    }
}
app.module.ts
import { NgModule } from '@angular/core';
import { BrowserModule } from '@angular/platform-browser';
import { HttpClient, HttpClientModule } from '@angular/common/http';

import { AppRoutingModule } from './app-routing.module';
import { AppComponent } from './app.component';

import { TranslateLoader, TranslateModule } from '@ngx-translate/core';
import { TranslateHttpLoader } from '@ngx-translate/http-loader';

import { HomePageComponent } from './pages/home/component';
import { DemoPageComponent } from './pages/demo/component';

@NgModule({
    declarations: [AppComponent, HomePageComponent, DemoPageComponent],
    imports: [
        BrowserModule,
        AppRoutingModule,
        HttpClientModule,
        TranslateModule.forRoot({
            loader: {
                provide: TranslateLoader,
                useFactory: HttpLoaderFactory,
                deps: [HttpClient],
            },
        }),
    ],
    providers: [],
    bootstrap: [AppComponent],
})
export class AppModule {}

// required for AOT compilation
export function HttpLoaderFactory(http: HttpClient): TranslateHttpLoader {
    return new TranslateHttpLoader(http);
}
How the app works
The translation is done with the ngx-translate component.
Translation works with different JSON files (for each language a separate file), containing the required translation for each text to be displayed. Each text is addressed with a name within the JSON file.
So, the base structure of each JSON file is the following:
Translation files
assets/i18n/de.json
{
  "i18n-demo-header": "I18N Demo",
  "header": "I18N Funktionalität in Angular"
}
assets/i18n/us.json
{
  "i18n-demo-header": "I18N Example",
  "header": "I18N Functionality in Angular"
}
These translations could be used in a html file by using the translate pipe:
<h1>{{'header' | translate }}</h1>More information and examples are here.
Changing the language is done with the help of the TranslateService
Inject your app with the TranslateService (in app.component.ts)
constructor(private translate: TranslateService) {
    translate.setDefaultLang('de');
}
Change Language
useLanguage(language: string): void {
    this.translate.use(language.toLowerCase());
}
Integrate in our UI
To easy switching the language, we have to do a few steps

And switching the language is done by calling useLanguage within each menu item:
<div class="btn-group dropstart">
<button class="btn btn-primary dropdown-toggle" type="button"
id="dropdownFlags"
data-bs-toggle="dropdown" aria-expanded="false"><span
class="flag-icon flag-icon-{{currentlang}}"></span>
</button>
<ul class="dropdown-menu">
<li *ngFor="let lang of languages" [value]="lang"
(click)="useLanguage(lang)">
<a class="dropdown-item"
[ngClass]="{'active': currentlang == lang}">
<span class="flag-icon flag-icon-{{lang}}"></span>
{{lang | uppercase}}
</a>
</li>
</ul>
</div><ul class="dropdown-menu">
Add a list item for each language
Add items (*ngFor="let lang of languages") containing a link and an event handler for the click event.
<li *ngFor="let lang of languages" [value]="lang" (click)="useLanguage(lang)">


Leave a Reply